Welcome
User Guide
Developer guide
Reference Guide
Frequently Asked Questions
Pricing policy
Data retention policy
Draft: Default Space How to upgrade by payment?
How to re-subscribe to an expired DID Space
Connecting to the DID Space using the Gateway Address
Switch the DID Space bound to NFT Blender.
The automatic backup of Blocklet is stuck, how can it be quickly restored?
Fix CORS error when connecting DID Space
Change log
Draft: Purchase DID Space
DID Spaces v0.6.0: OAuth Integration in DID Spaces
DID Spaces v0.5.83: OAuth integrated DID Space
Prod Spaces data retention policy updated
DID Spaces v0.4.26 released: subscription fully adopts pay-as-you-go & supports paid upgrade Default Space
DID Spaces v0.3.75 released: Supports reading and writing component spaces
DID Spaces v1.0.48: 支持预览 post/bookmark/blog/doc
Backup Blocklet to DID Space.
Overview#
Data is often an application's most valuable asset. To protect this data and enable seamless migration between different Serverless environments or Blocklet Servers, you can back up an entire Blocklet to DID Spaces and restore it as needed.
Prerequisites#
- A usable DID Space can be obtained by obtaining a DID Space
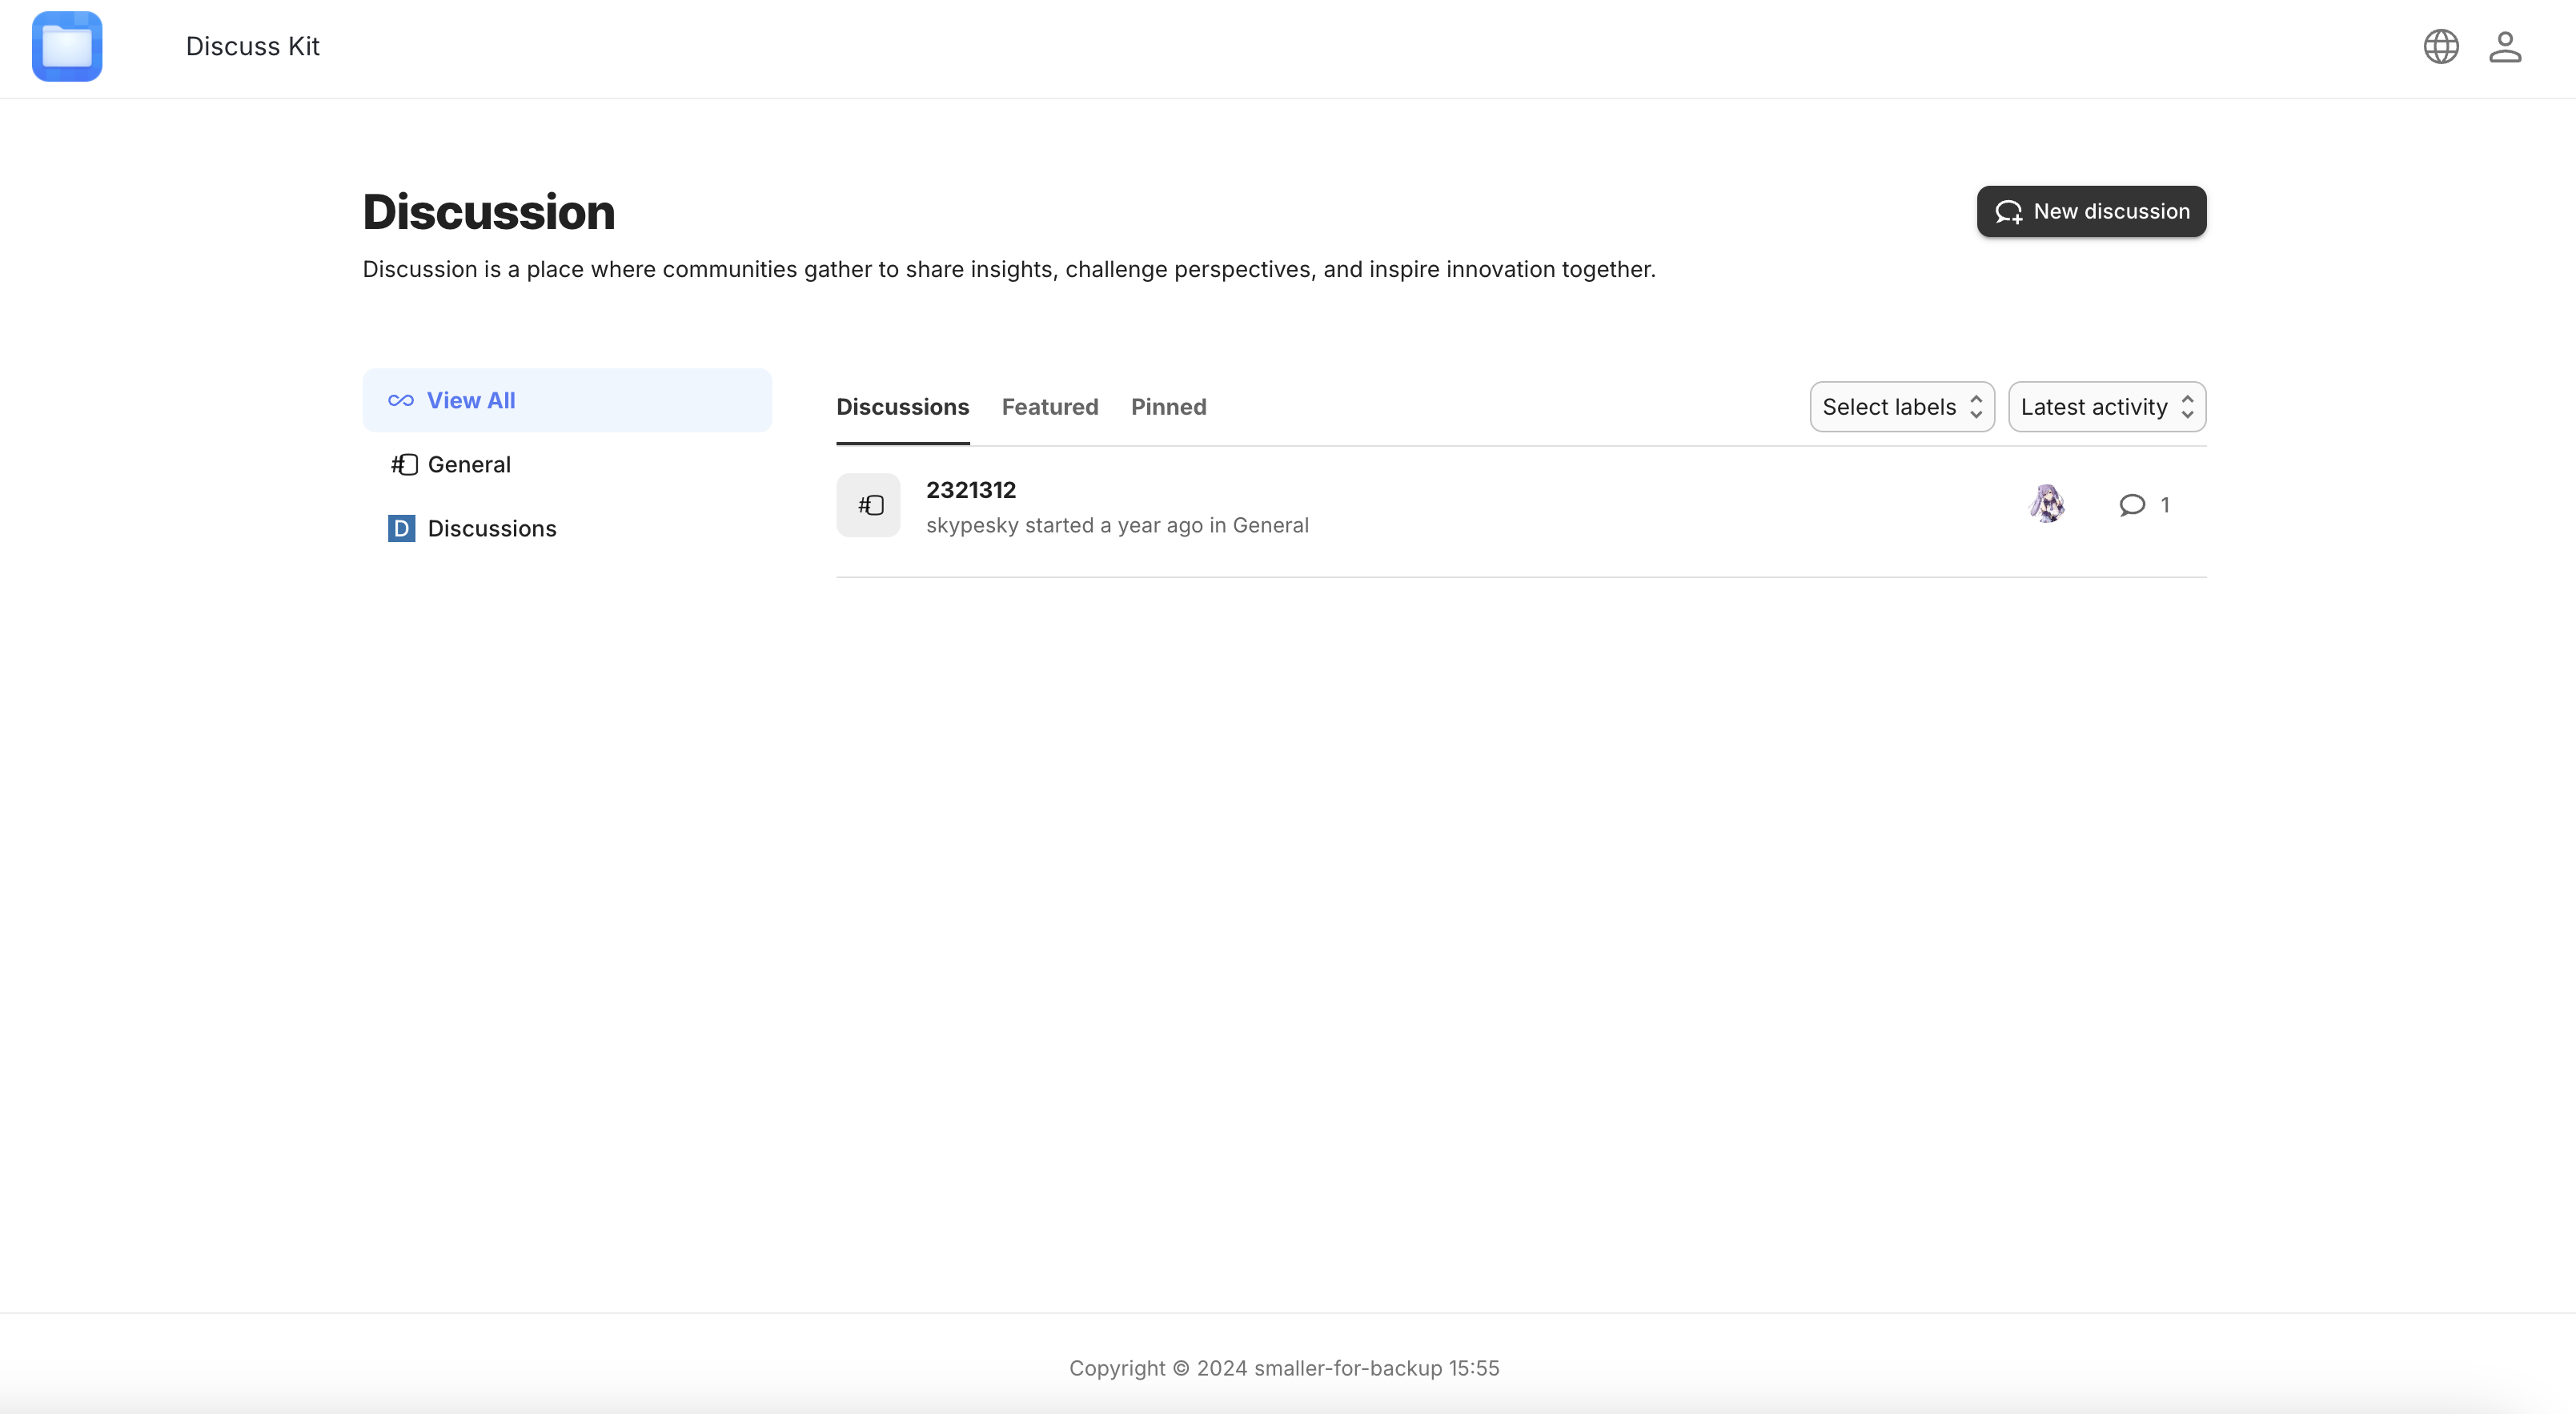
Sign in to your app#
Visit your application homepage, click the icon in the top right corner, and log in as either Owner or Admin.
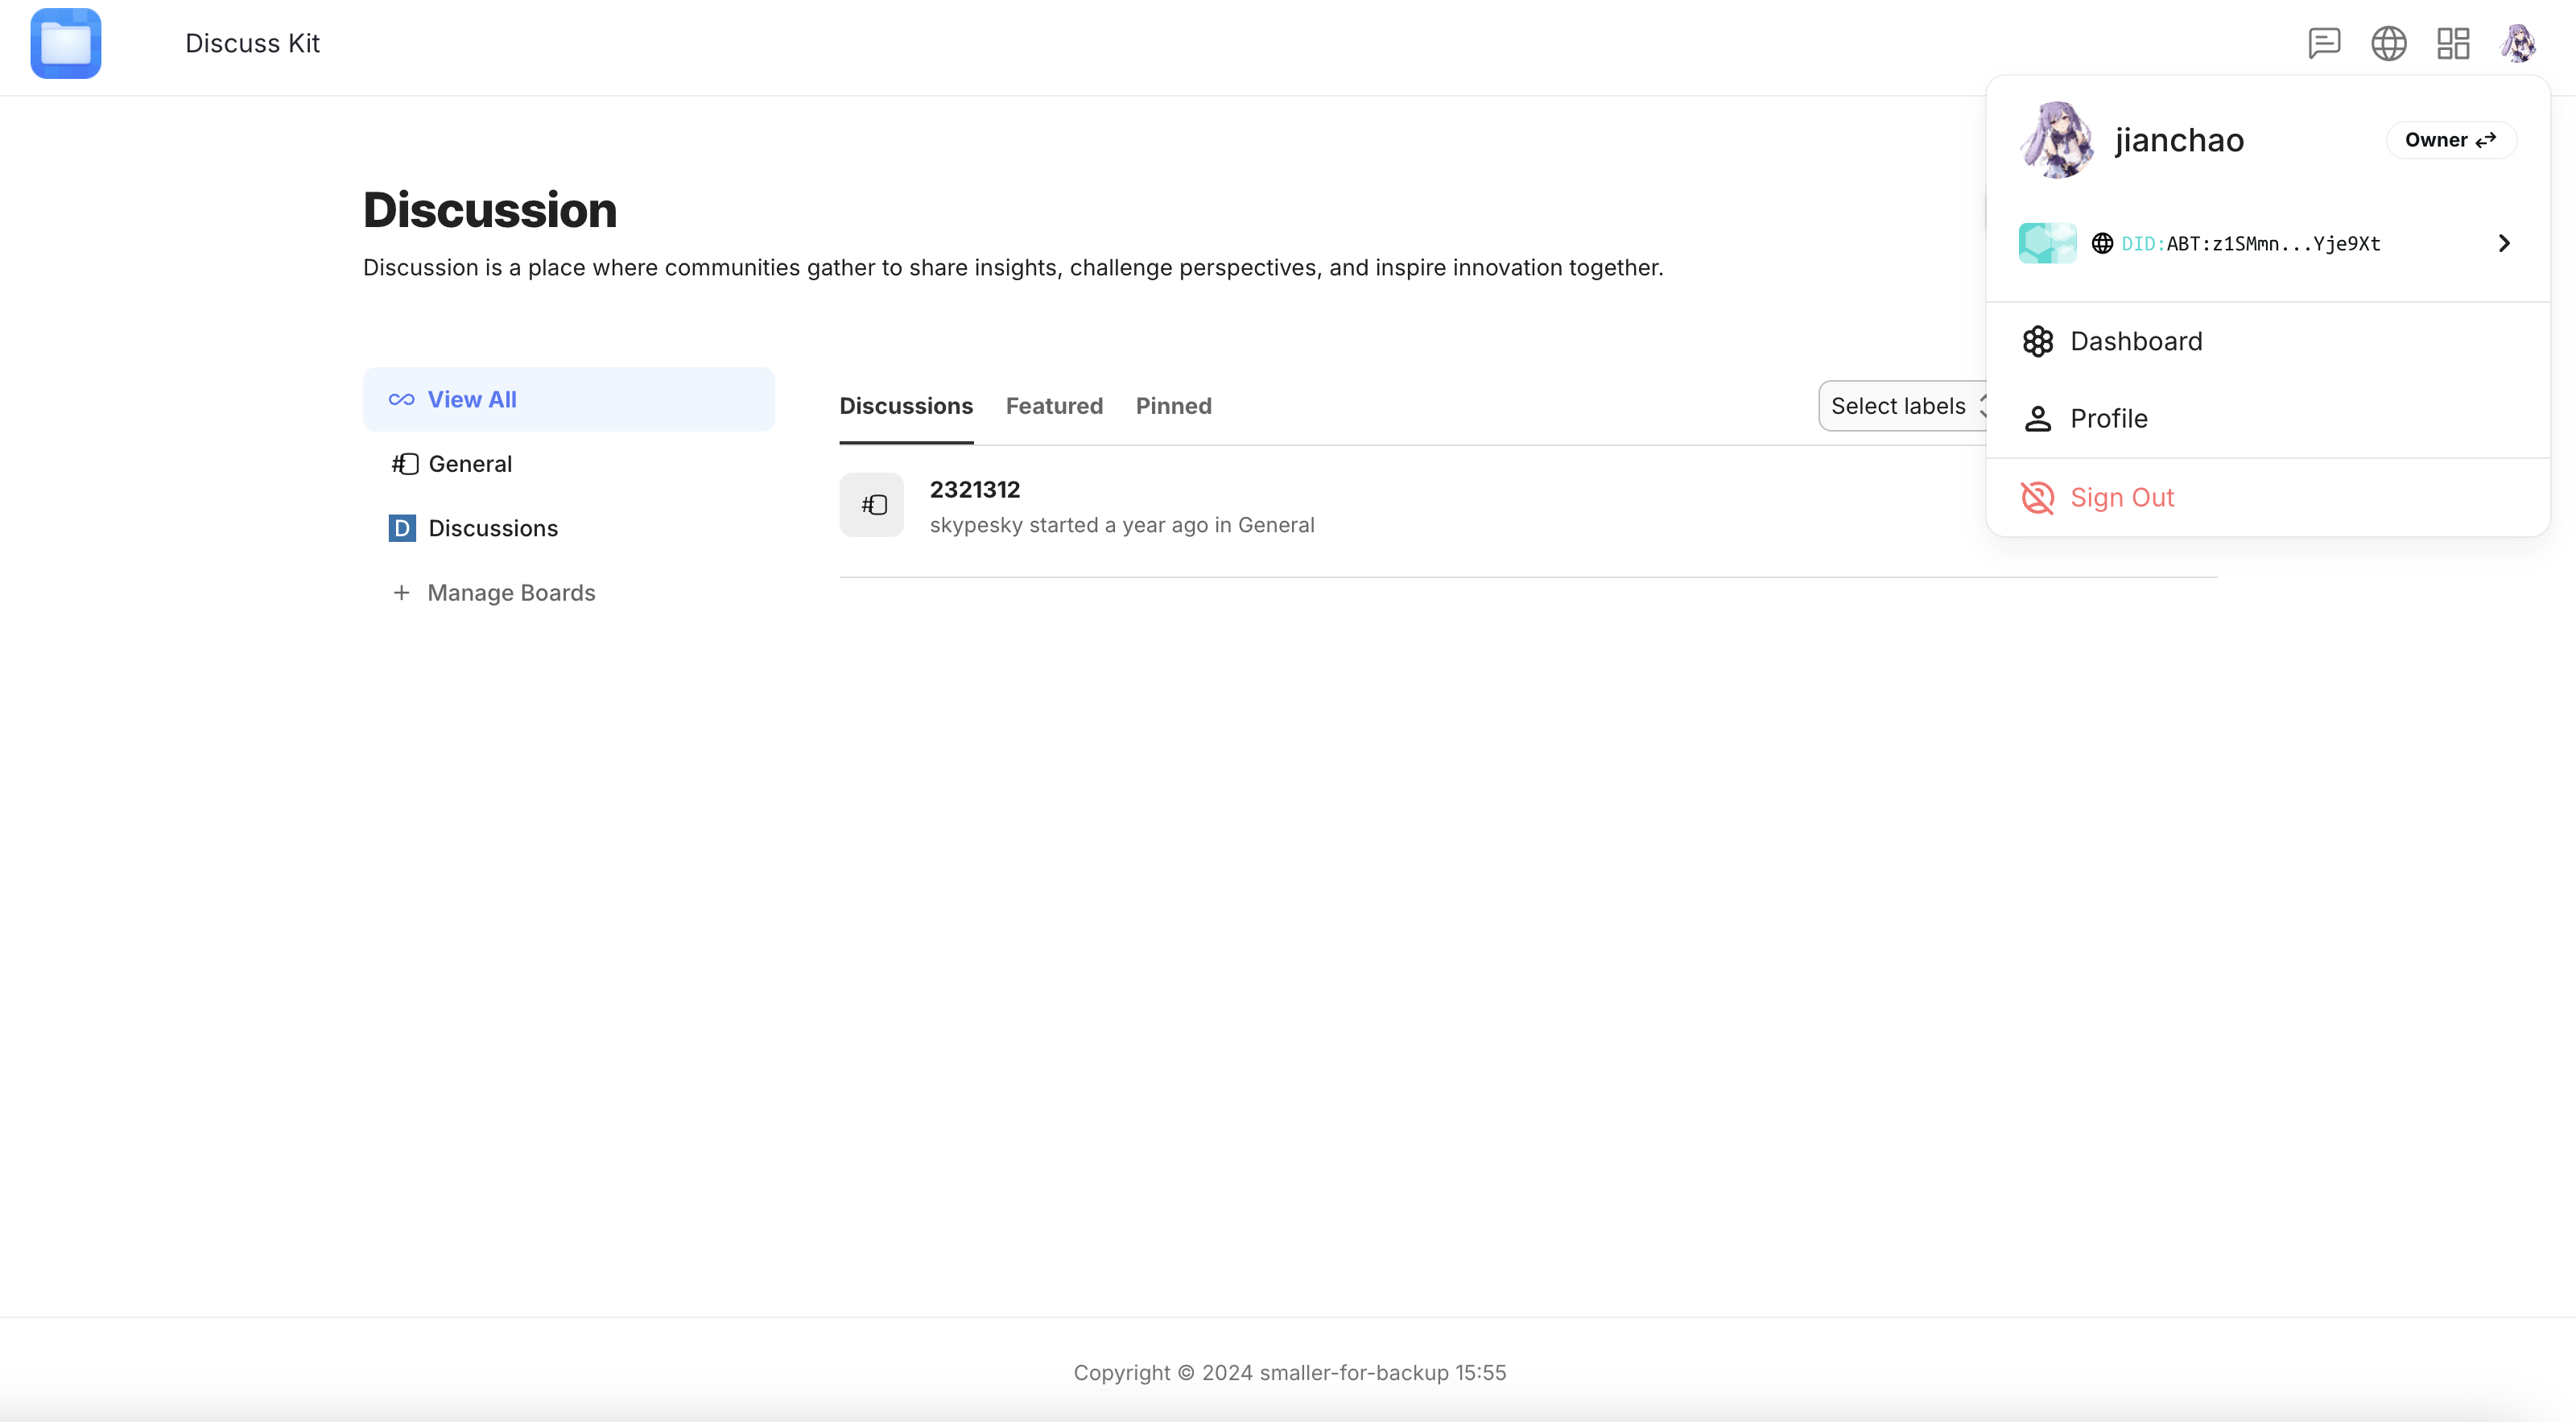
After successfully logging in, click the user avatar in the upper right corner, and then click Dashboard to access the user management interface.
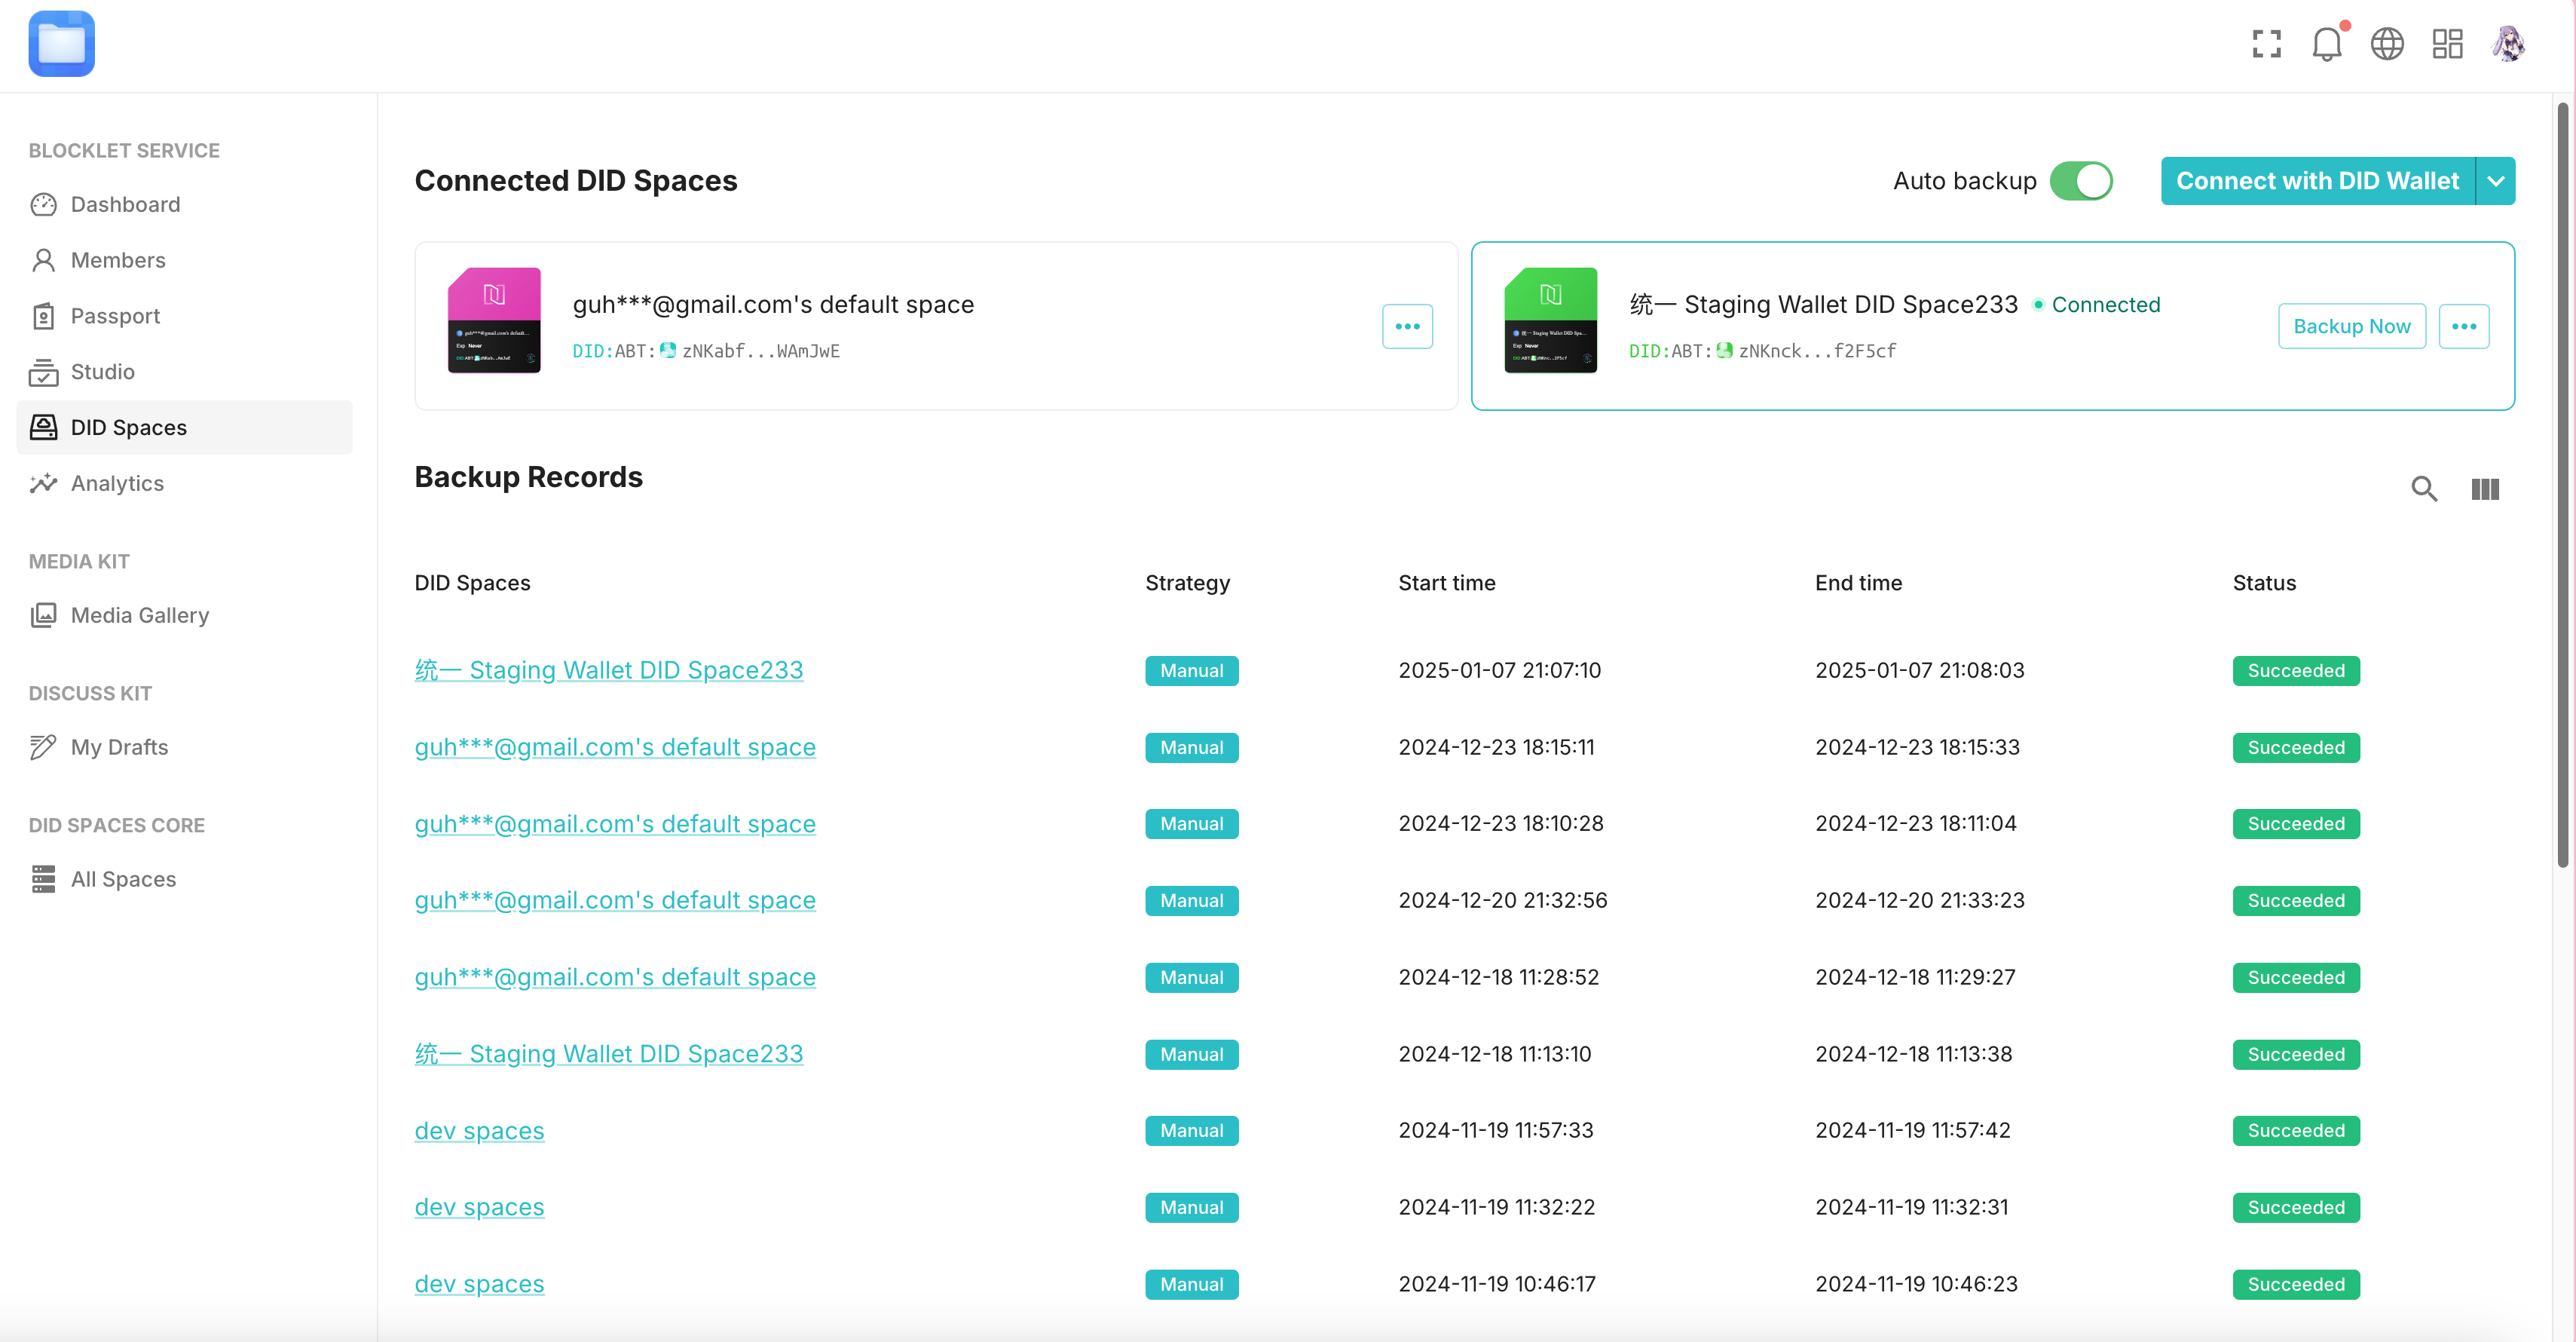
Click the Dashboard on the left, then the DID Spaces tab. This is where you configure application backups.
Back Up Your App#
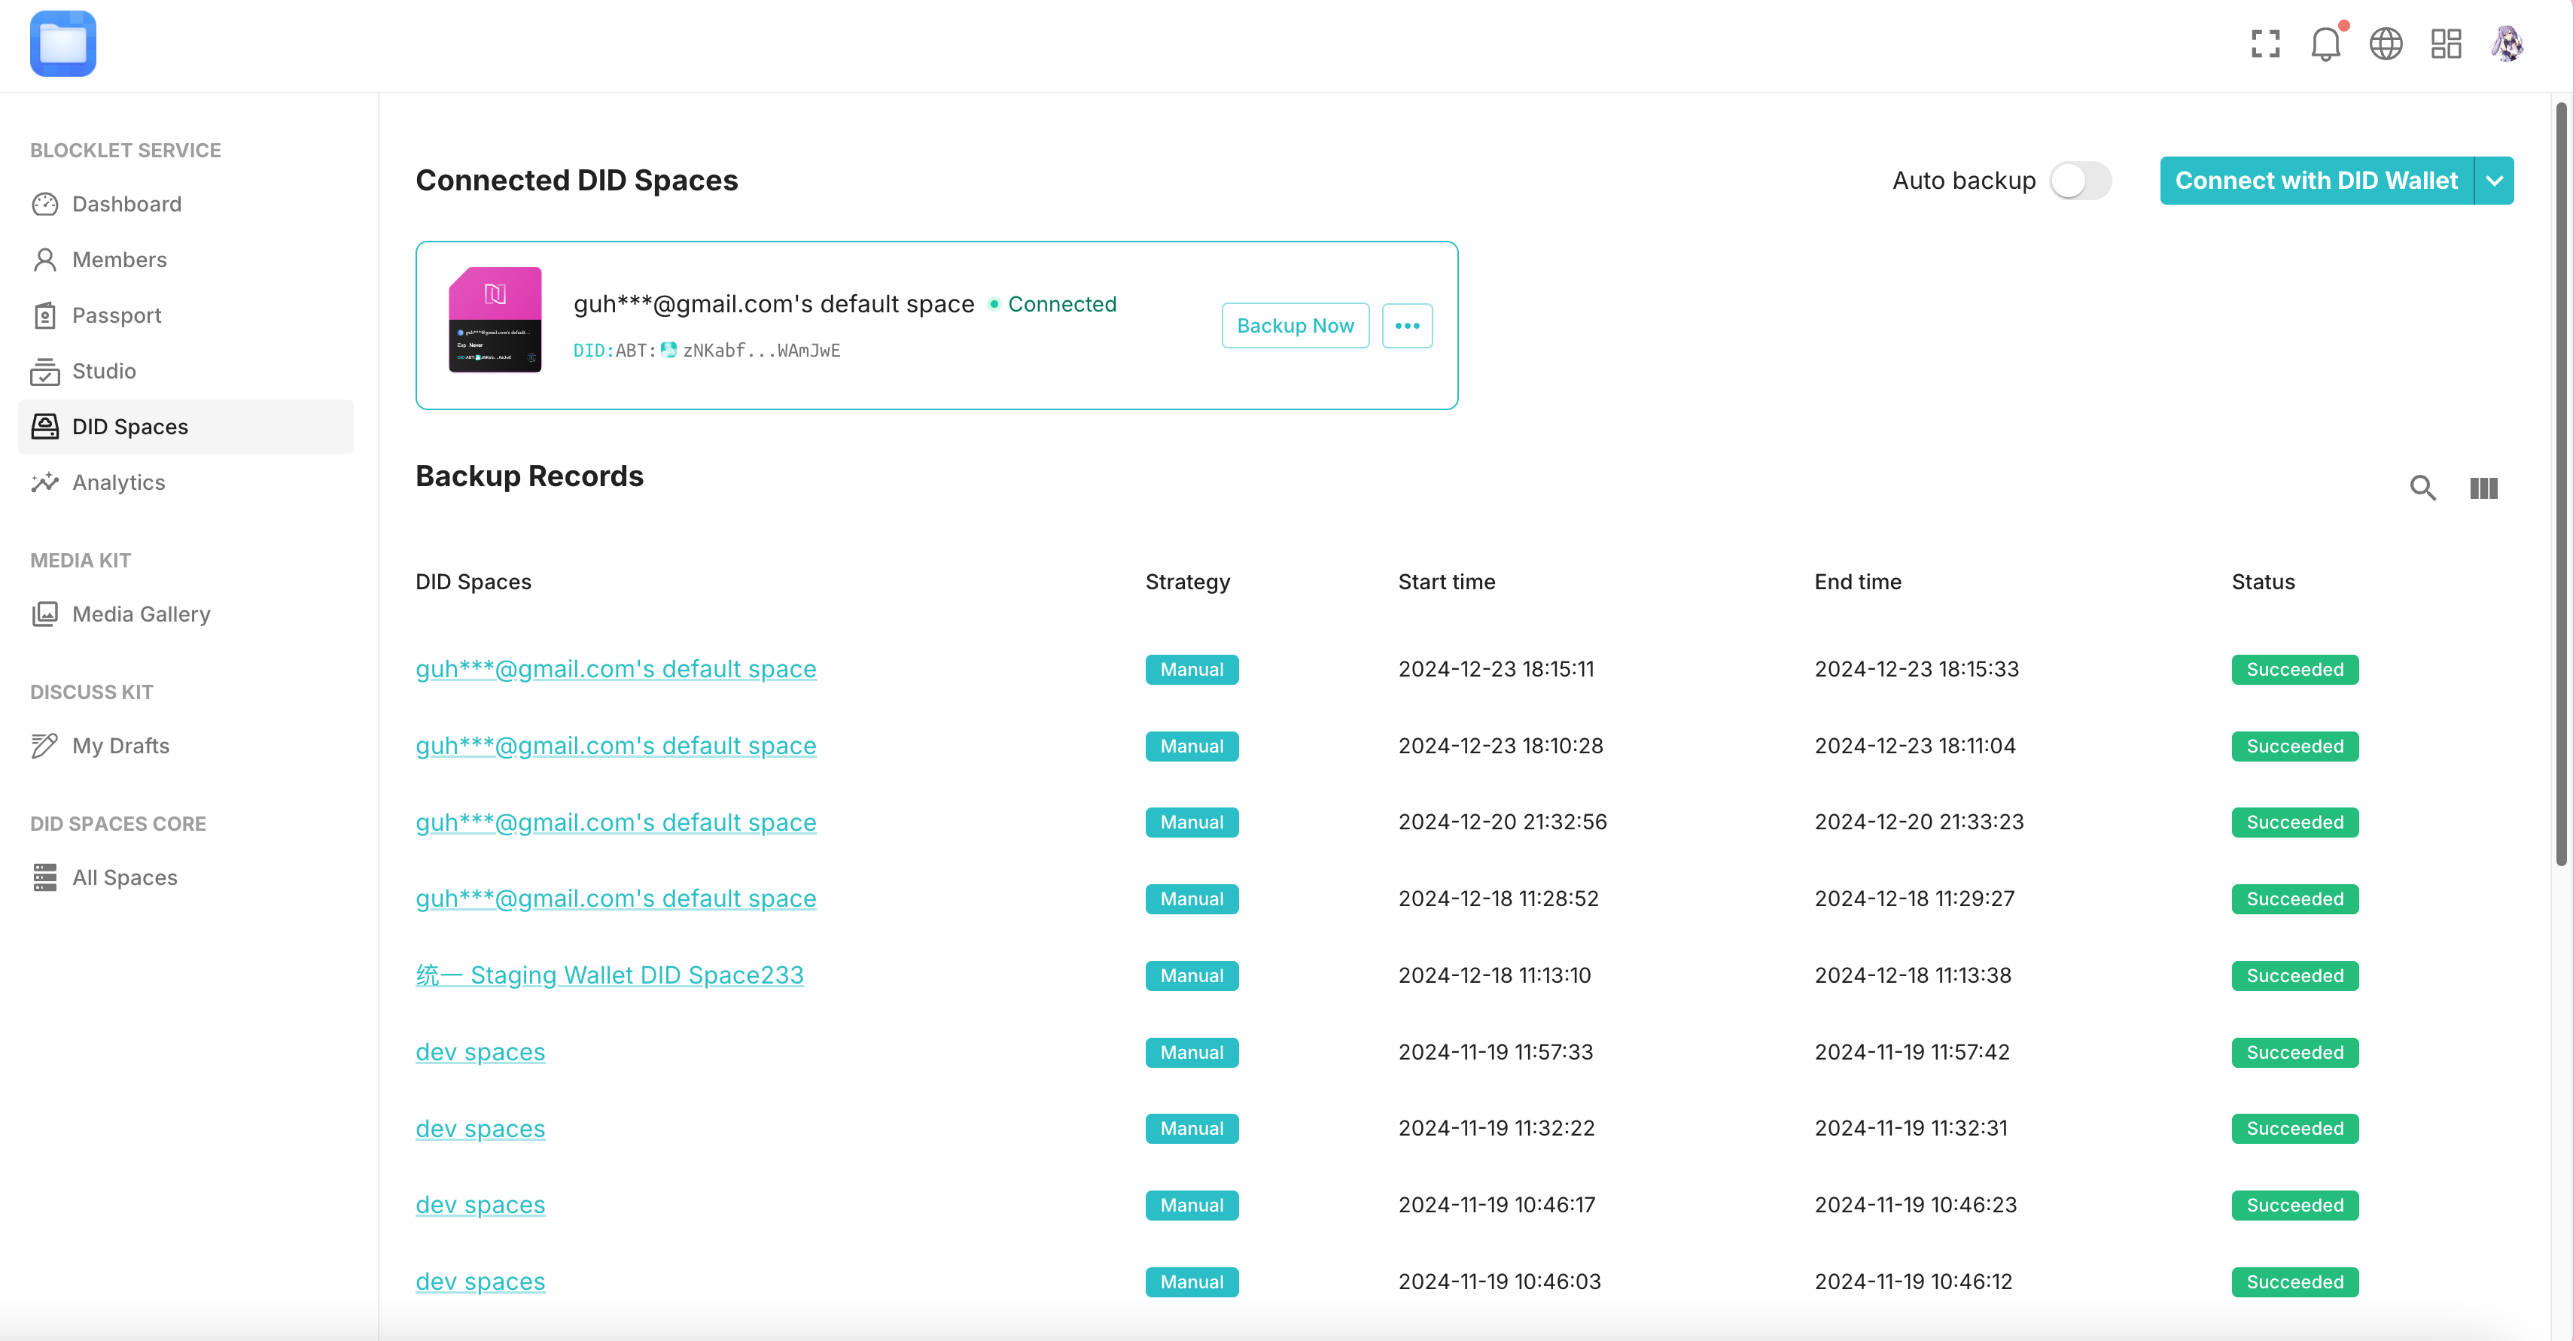
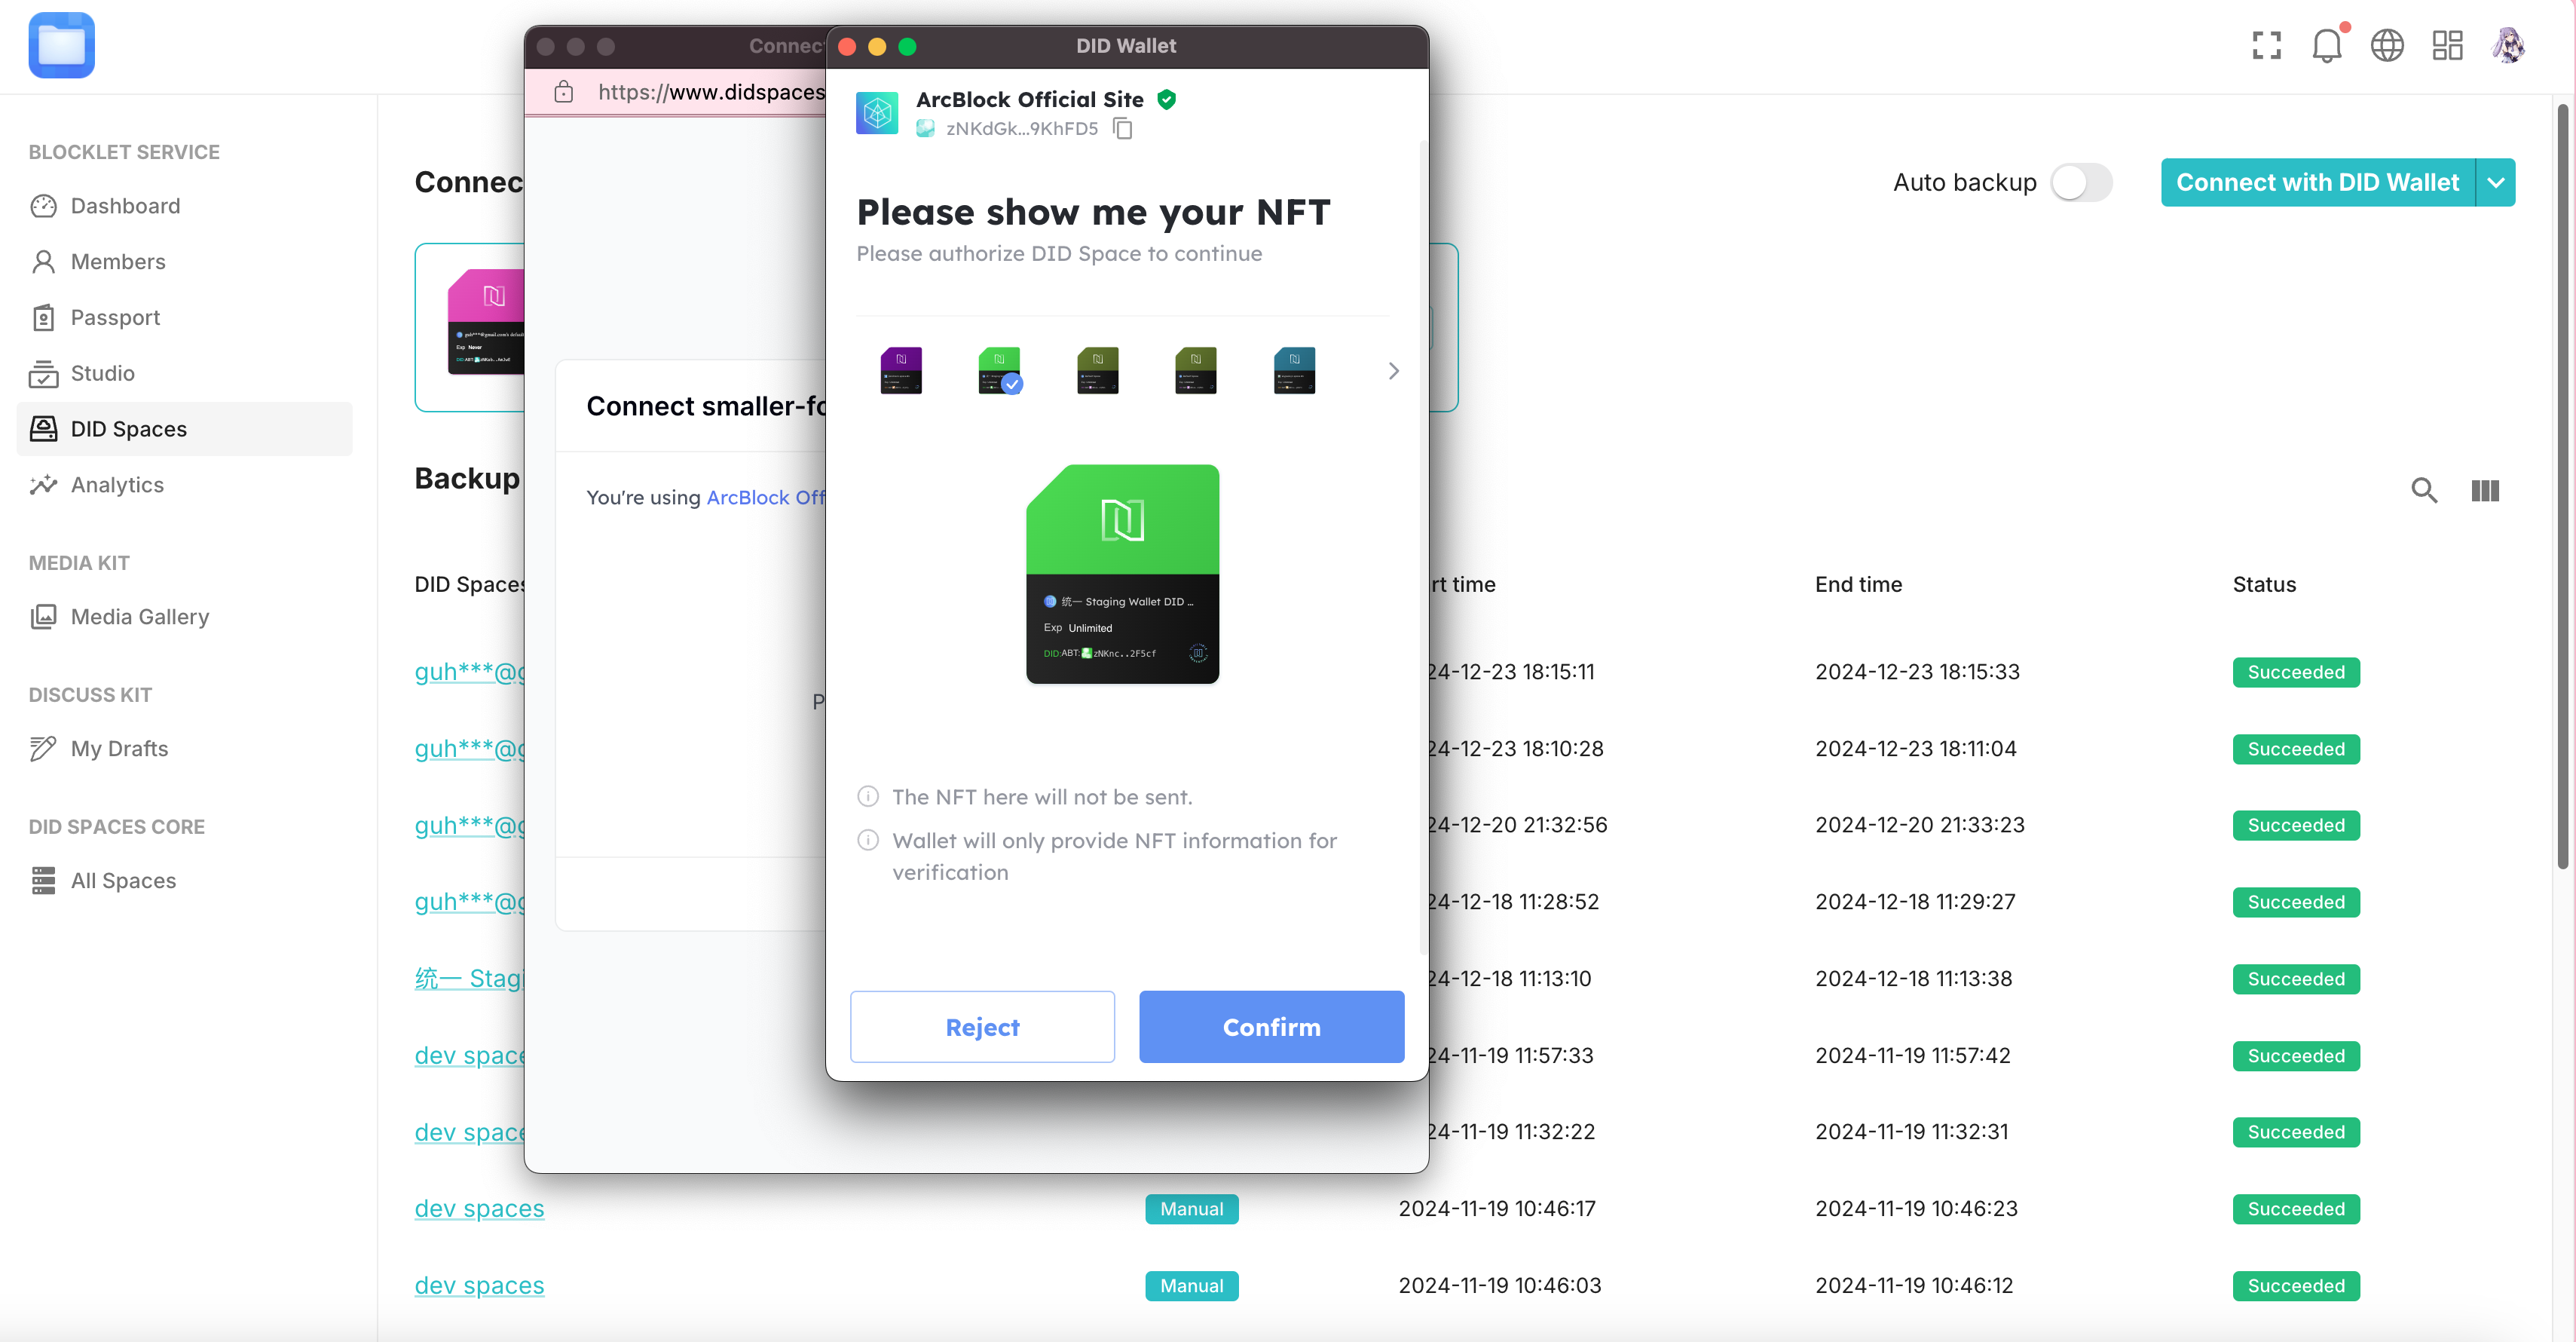
Click **Connect with DID Wallet** in the upper right corner to connect your DID Space. Confirm to authorize.
After a successful connection, you can click the **Backup Now** button to create a backup immediately:
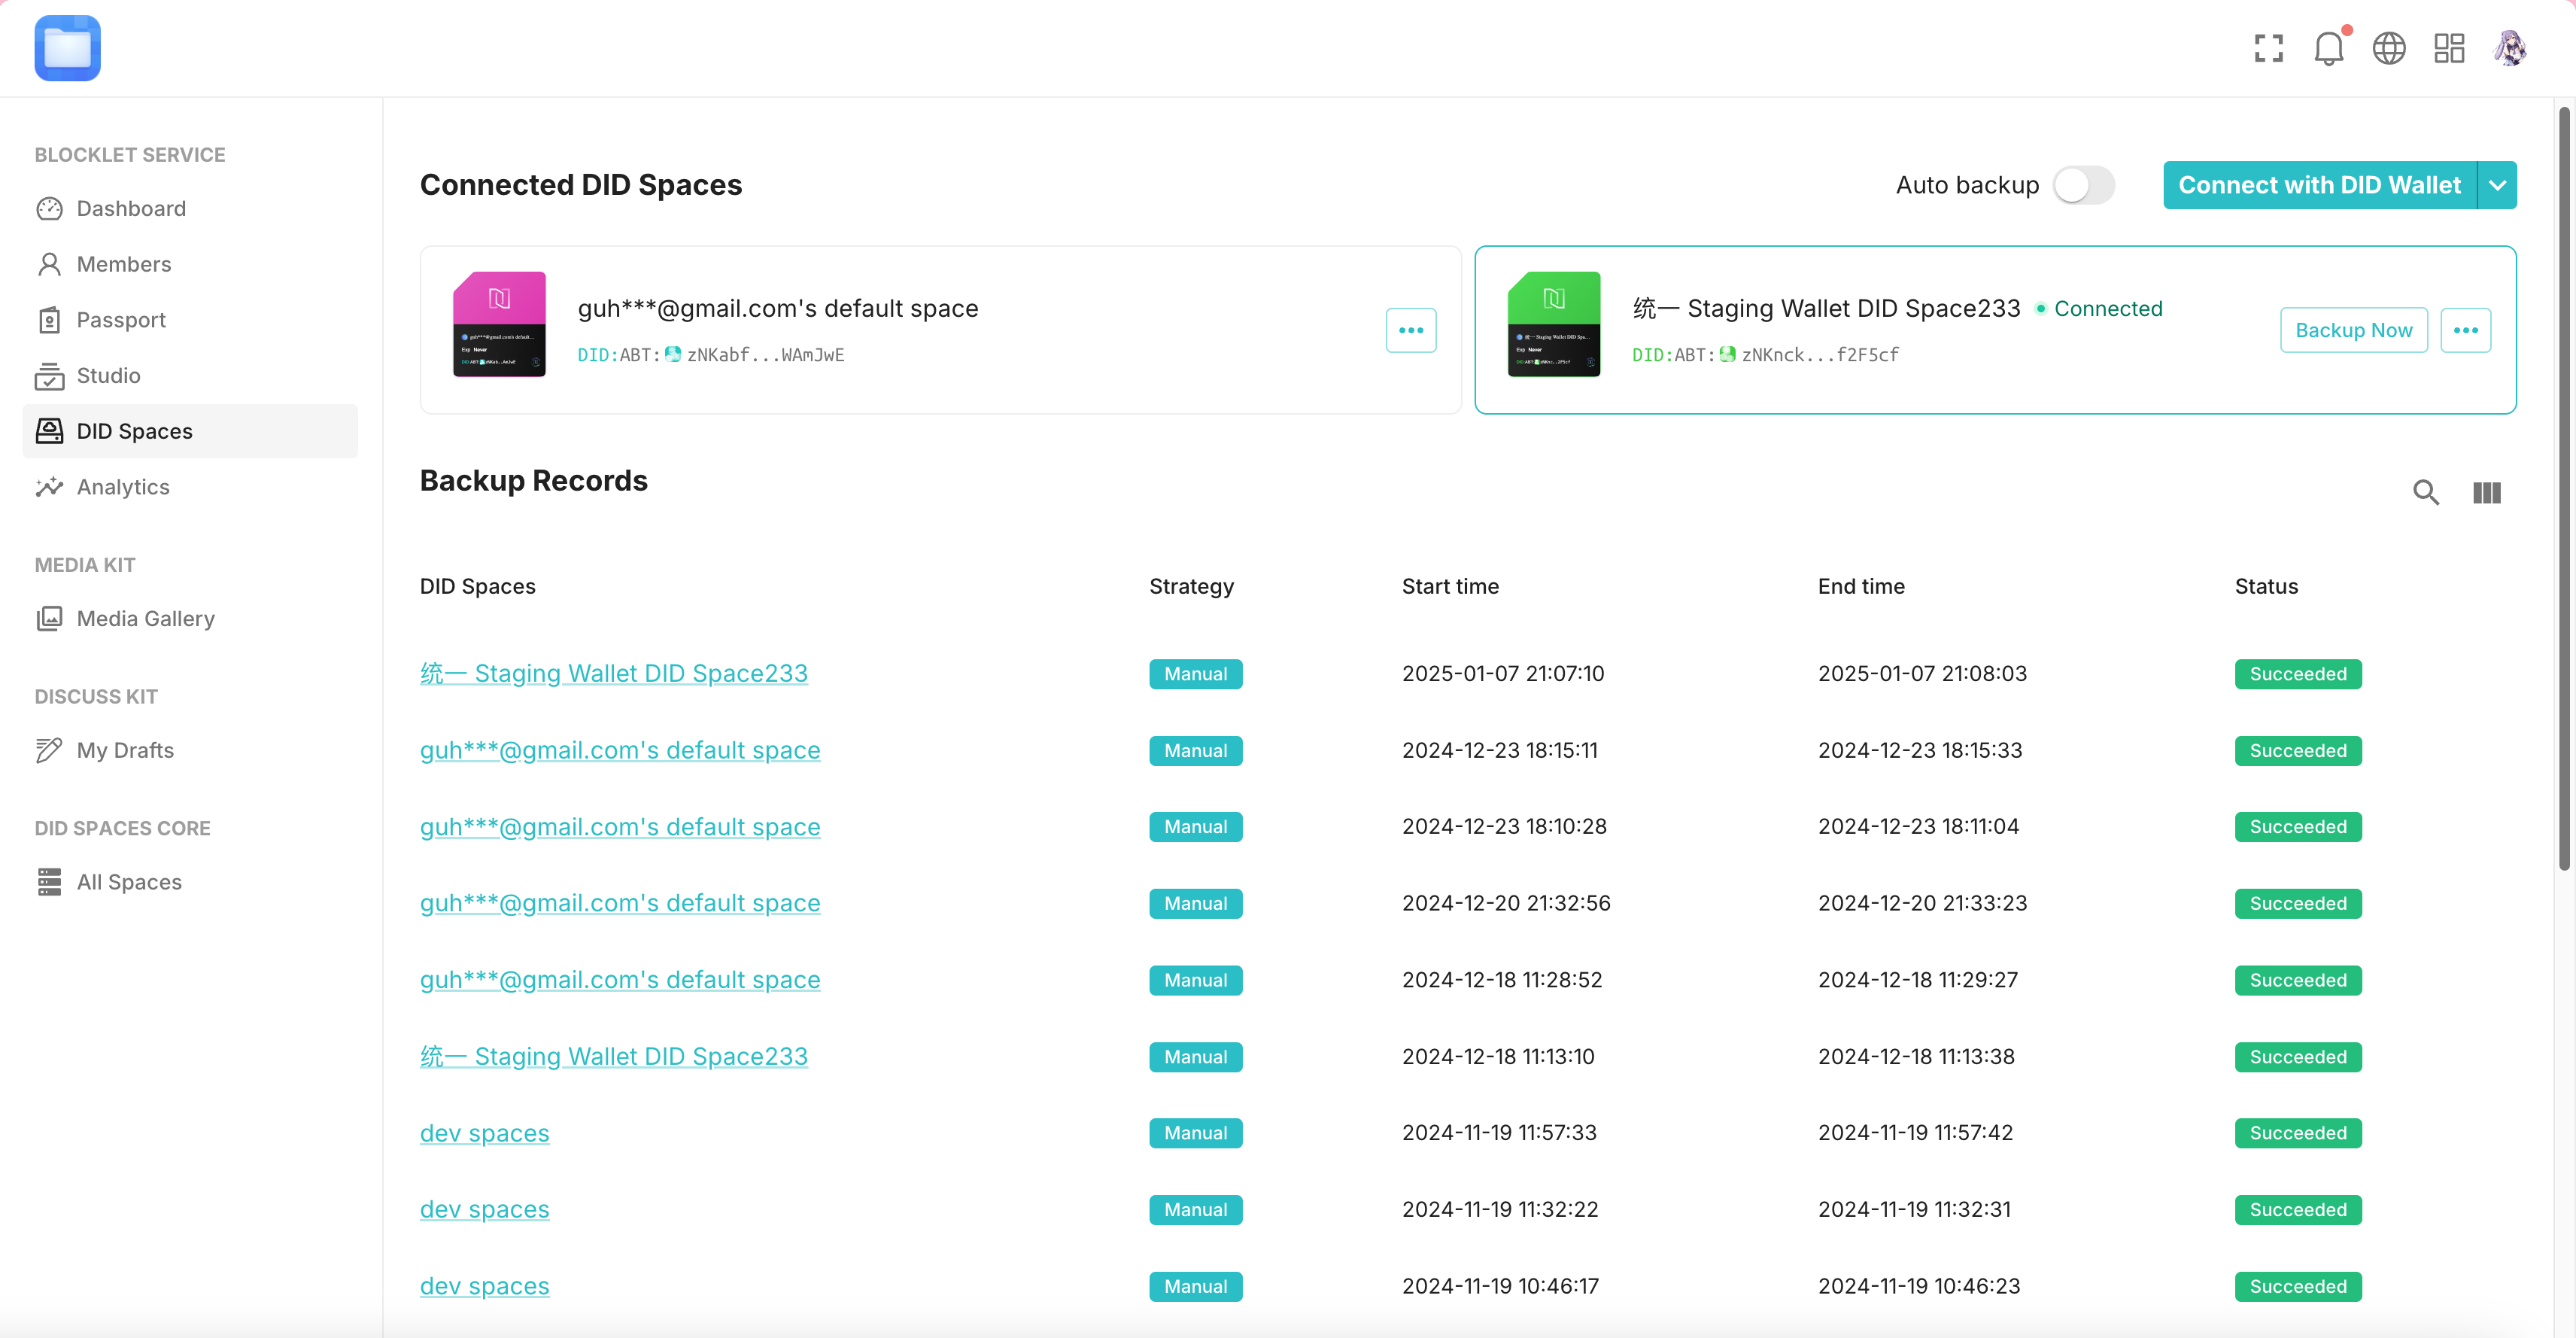
You can also enable automatic backups. By default, the application triggers a backup every two hours. A backup is also triggered one minute after any change in application status (such as starting, stopping, or modifying configurations).