Building on AIGNE

Introduction#
In this article, you will discover the process of developing and deploying an AI application on AIGNE.
AIGNE is a powerful platform for developing and deploying AI applications, offering a seamless process for users. By following the steps outlined in this article, you will learn how to create and launch your own AI application on AIGNE, unlocking its full potential for your business or project. Dive into the world of AI development with AIGNE and see the possibilities it can offer.
Prerequisites#
- Skills required: Prompt / Javascript (optional)
- Environments: Browser
Getting Started#
Create Project#
- Go to AIGNE official site https://www.aigne.io
- Create your first AIGNE project
- Hiit "🔥 Try Now" enter AIGNE Studio
- Hit "New Project"
- Choose a project name, such as "My First AIGNE Project"
- Create project
Your first Agent#
- Click "+" to create your first Agent "Hello World"
- You can edit the agent's prompt
- You can debug it in the right "Debug" panel
- Click on "Deploy" to deploy your project and receive a link to your application
Customize the agent appearance#
- Add appearance outputs for your agent
- Choose the component you want for each output and set the corresponding parameters
- Update your deployment and you can preview the new appearance
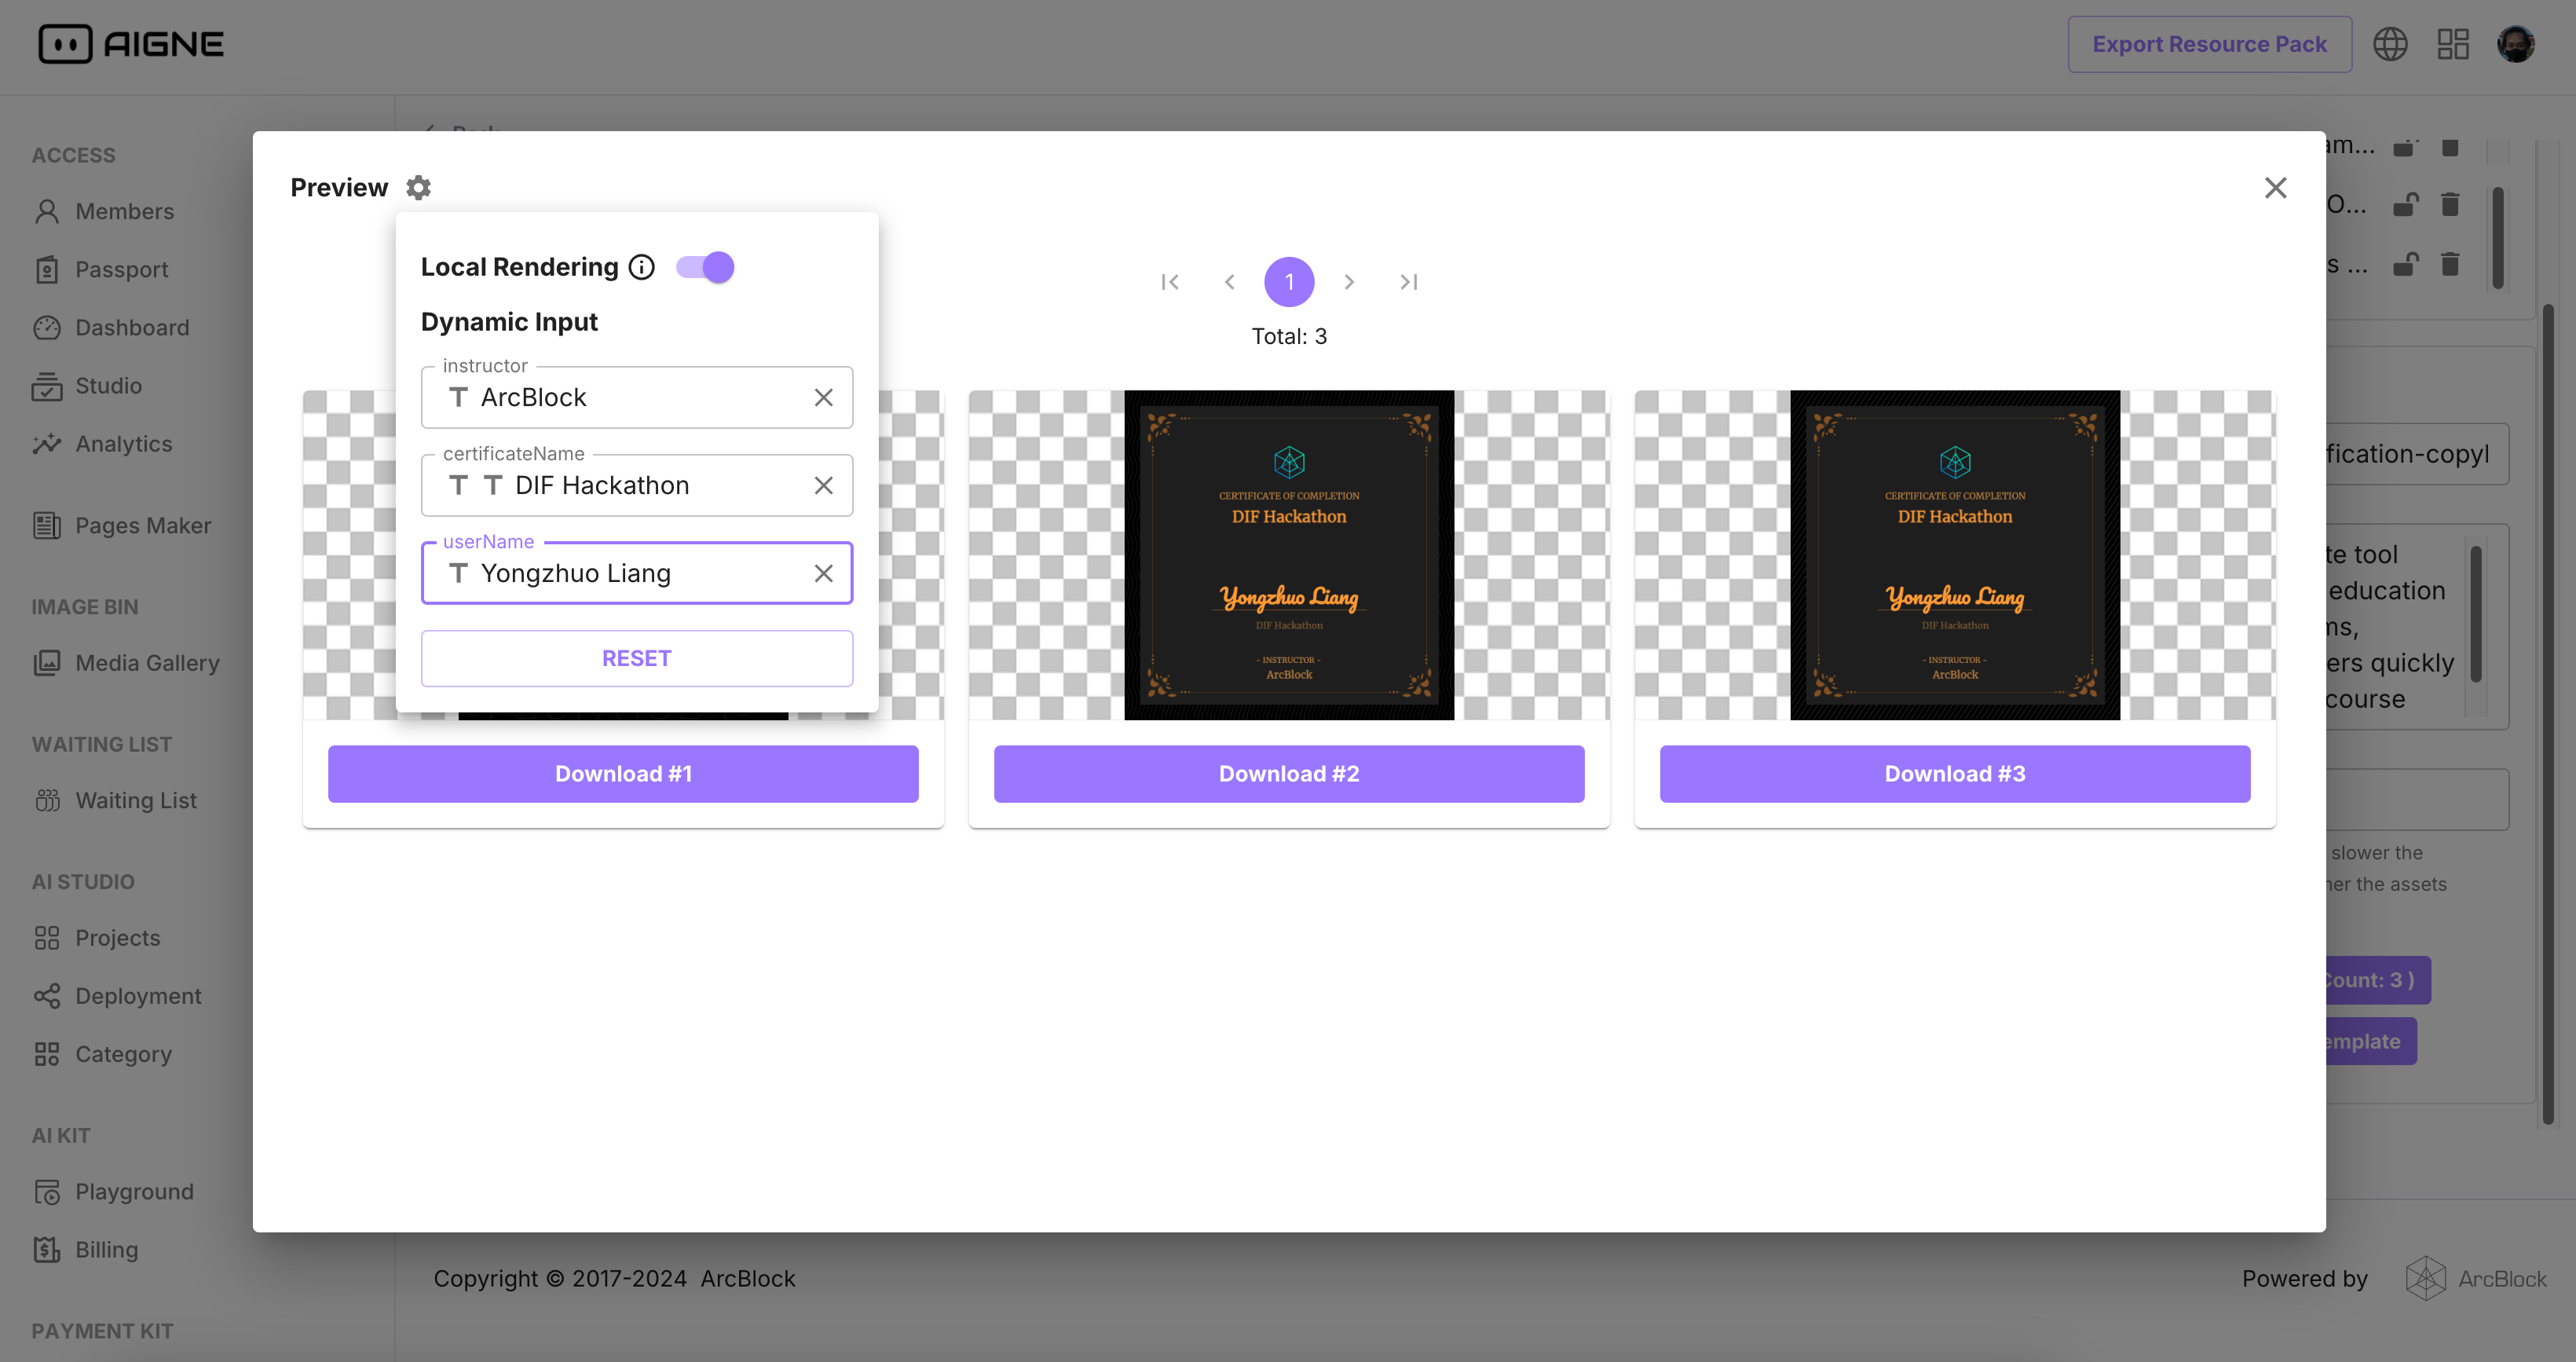
Use Image Blender render template image#
- Create an agent "Certificate"
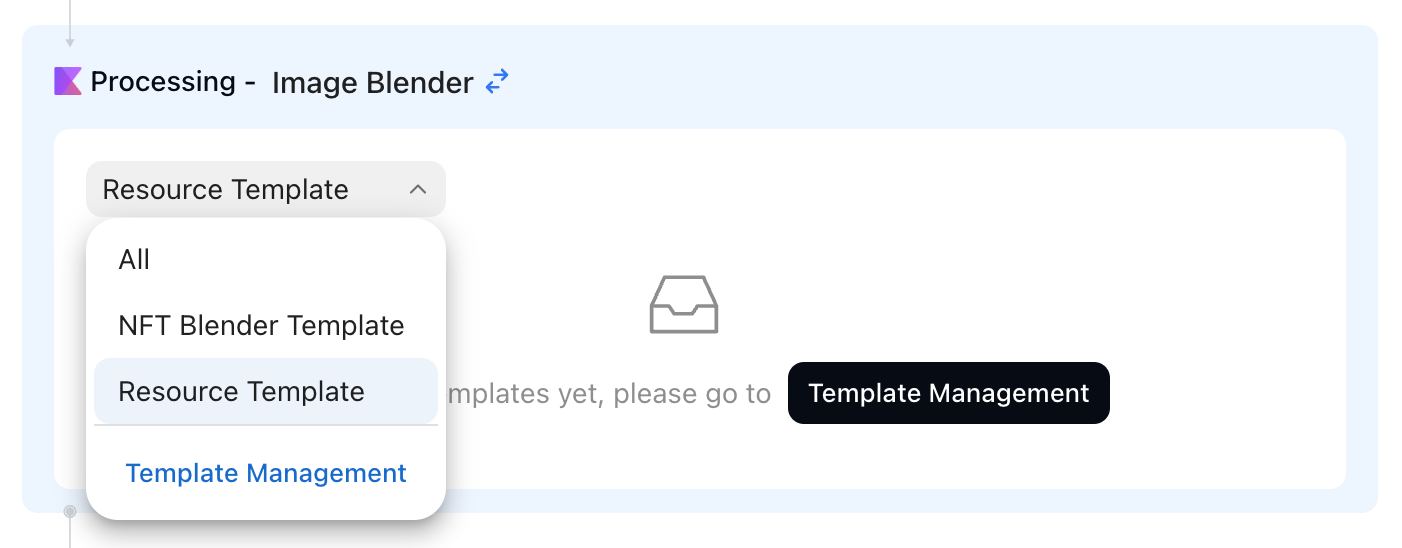
- Switch the agent processing to the "Image Blender"
- Choose a blender template and fill it's parameters
- Run the agent in the debug view to obtain the final rendered image
Issue VC in the agent#
- In the "Certificate" agent
- Add an output named "issuedVC" and fill the inputs
- The 'Name' field must be letters or numbers and cannot contain spaces or other characters
- The 'Display URL' field uses images rendered by Blender
{{$images.0.url}}
- Run the Agent, and you can see the detailed data returned for the issued VC
QA Test Agent#
- Add a "Conversation History" input
- Add a system prompt and enter QA-related prompts
- Add an output named "isFinished" with description "Is the QA Test finished?" (The AI will automatically determine whether the test has ended)
- Add an output named "certificate", it will call "Certificate" agent when
{{isFinished}}is truth value - Add an output named "vc"
- Set it's From -> Template to
{{certificate.issuedVC.vc}} - Choose an appearance rendering component 'VC' for it
- Set it's From -> Template to
- Add "Opening Question" and "Opening Message" outputs
- Deploy it and initiate the QA test, a VC will be provided upon completion of the test
Various types of agents#
- LLM (Large Language Model) is a type of artificial intelligence that uses a large amount of data to generate human-like text. It can be used for various tasks such as language translation, text generation, and content creation. LLMs have been criticized for their potential to spread misinformation and bias.
- Image Generation is a type of agent used to generate images based on certain parameters or inputs. It can be used to create realistic images, generate new artwork, or even enhance existing images.
- Image Blender supports rendering images using Blender templates
- Logic is an agent that supports coding. You can program it using Javascript/Typescript.
- API type Agent allows calling an http interface.
- Decision is used for decision-making, allowing AI to help you judge and choose which Agent to run next.
- Call Agent can be used to package a basic Agent, customize its input and output, making it a more user-friendly Agent.
Deploy#
The Deploy function has already been demonstrated in the above steps.
Project Ideas#
- DIF Knowledge Base: Develop a simple AI-powered chatbot that can answer FAQs about decentralized identities using AIGNE Studio.
- Digital Identity Verification Badge: Design a digital badge using NFT Studio that users can earn after verifying their identity on a platform, showcasing their verified status.
- Event Attendance Certificates: Utilize NFT Studio to design and issue digital certificates for event attendance, which can be linked to the user's DID for authenticity..
- Event Ticketing System: Develop a decentralized event ticketing platform that leverages verifiable credentials to issue, verify, and manage event tickets. This system will ensure that each ticket is linked to a user's decentralized identity, making it nearly impossible to counterfeit or scalp tickets.
- Online Course Certification System: Create an online platform where educational institutions or trainers can issue verifiable certificates for course completion and exam passing. This system will use decentralized identities to authenticate the issuance and receipt of certificates.
Read More#
You can learn more about the usage to perfect your agent
Customize the agent's Image Blender Templates
We built some beautiful templates into AIGNE, and we'll share how "Online Course Certification" was created!
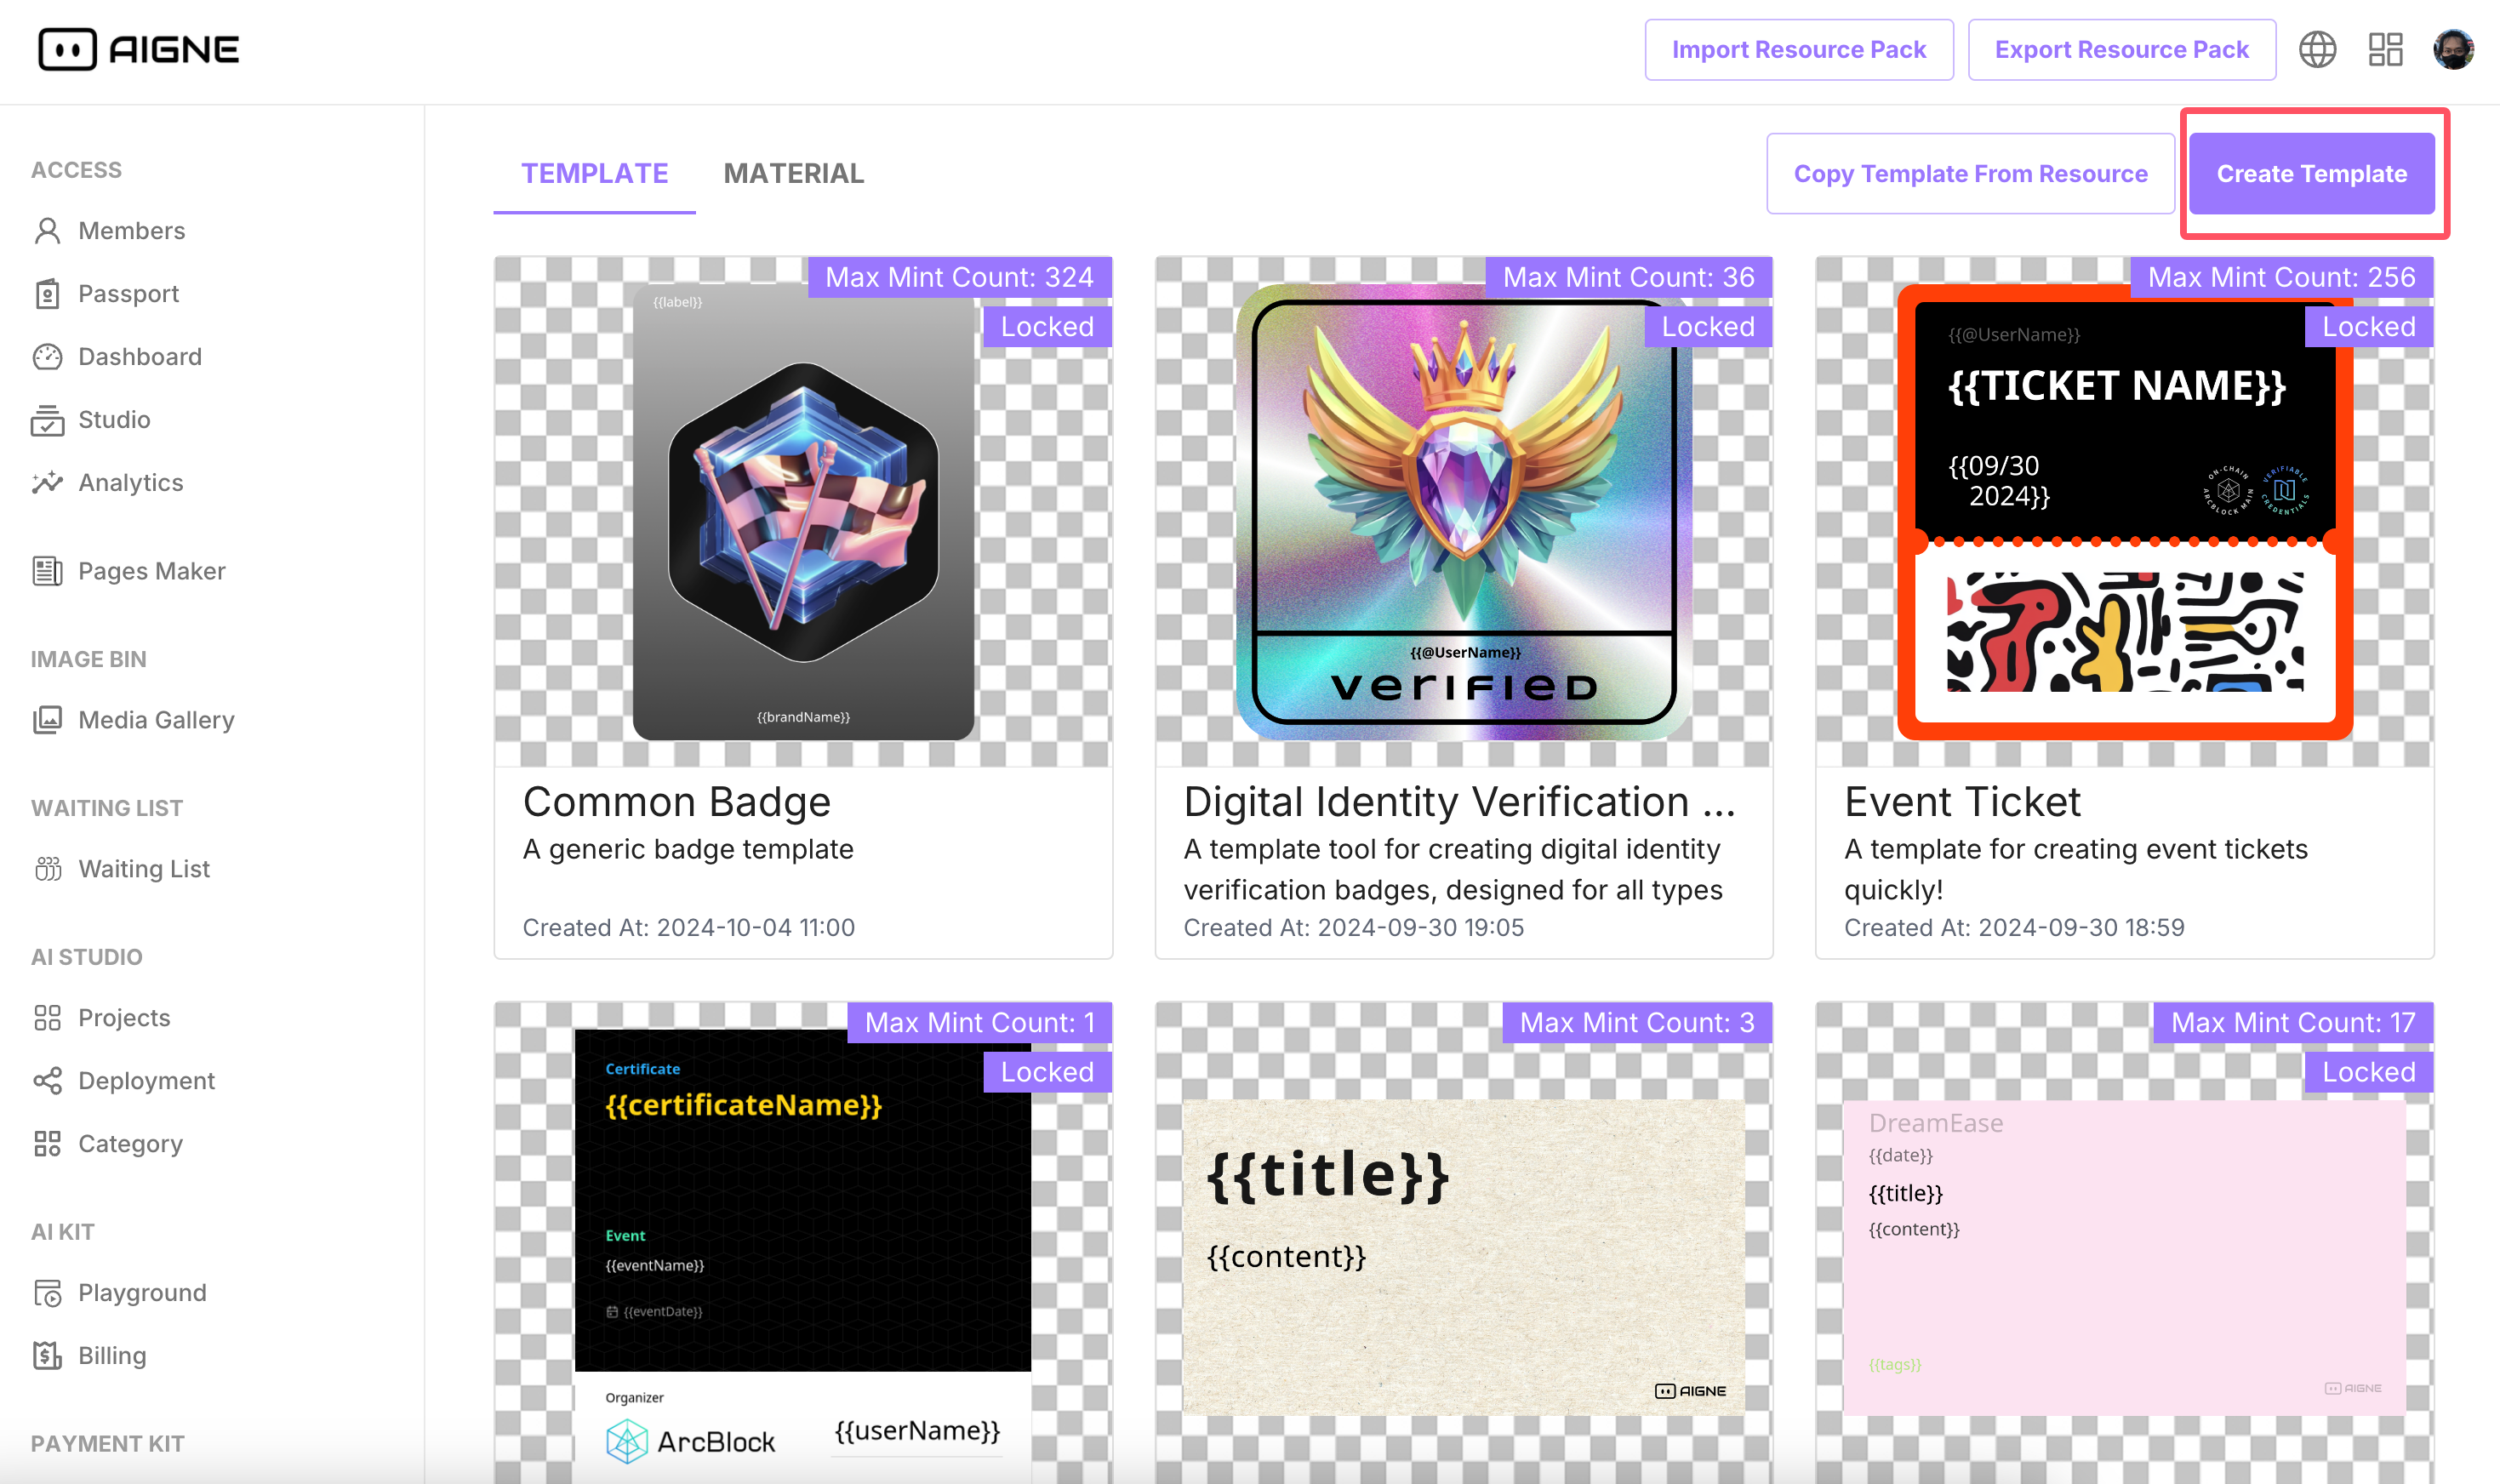
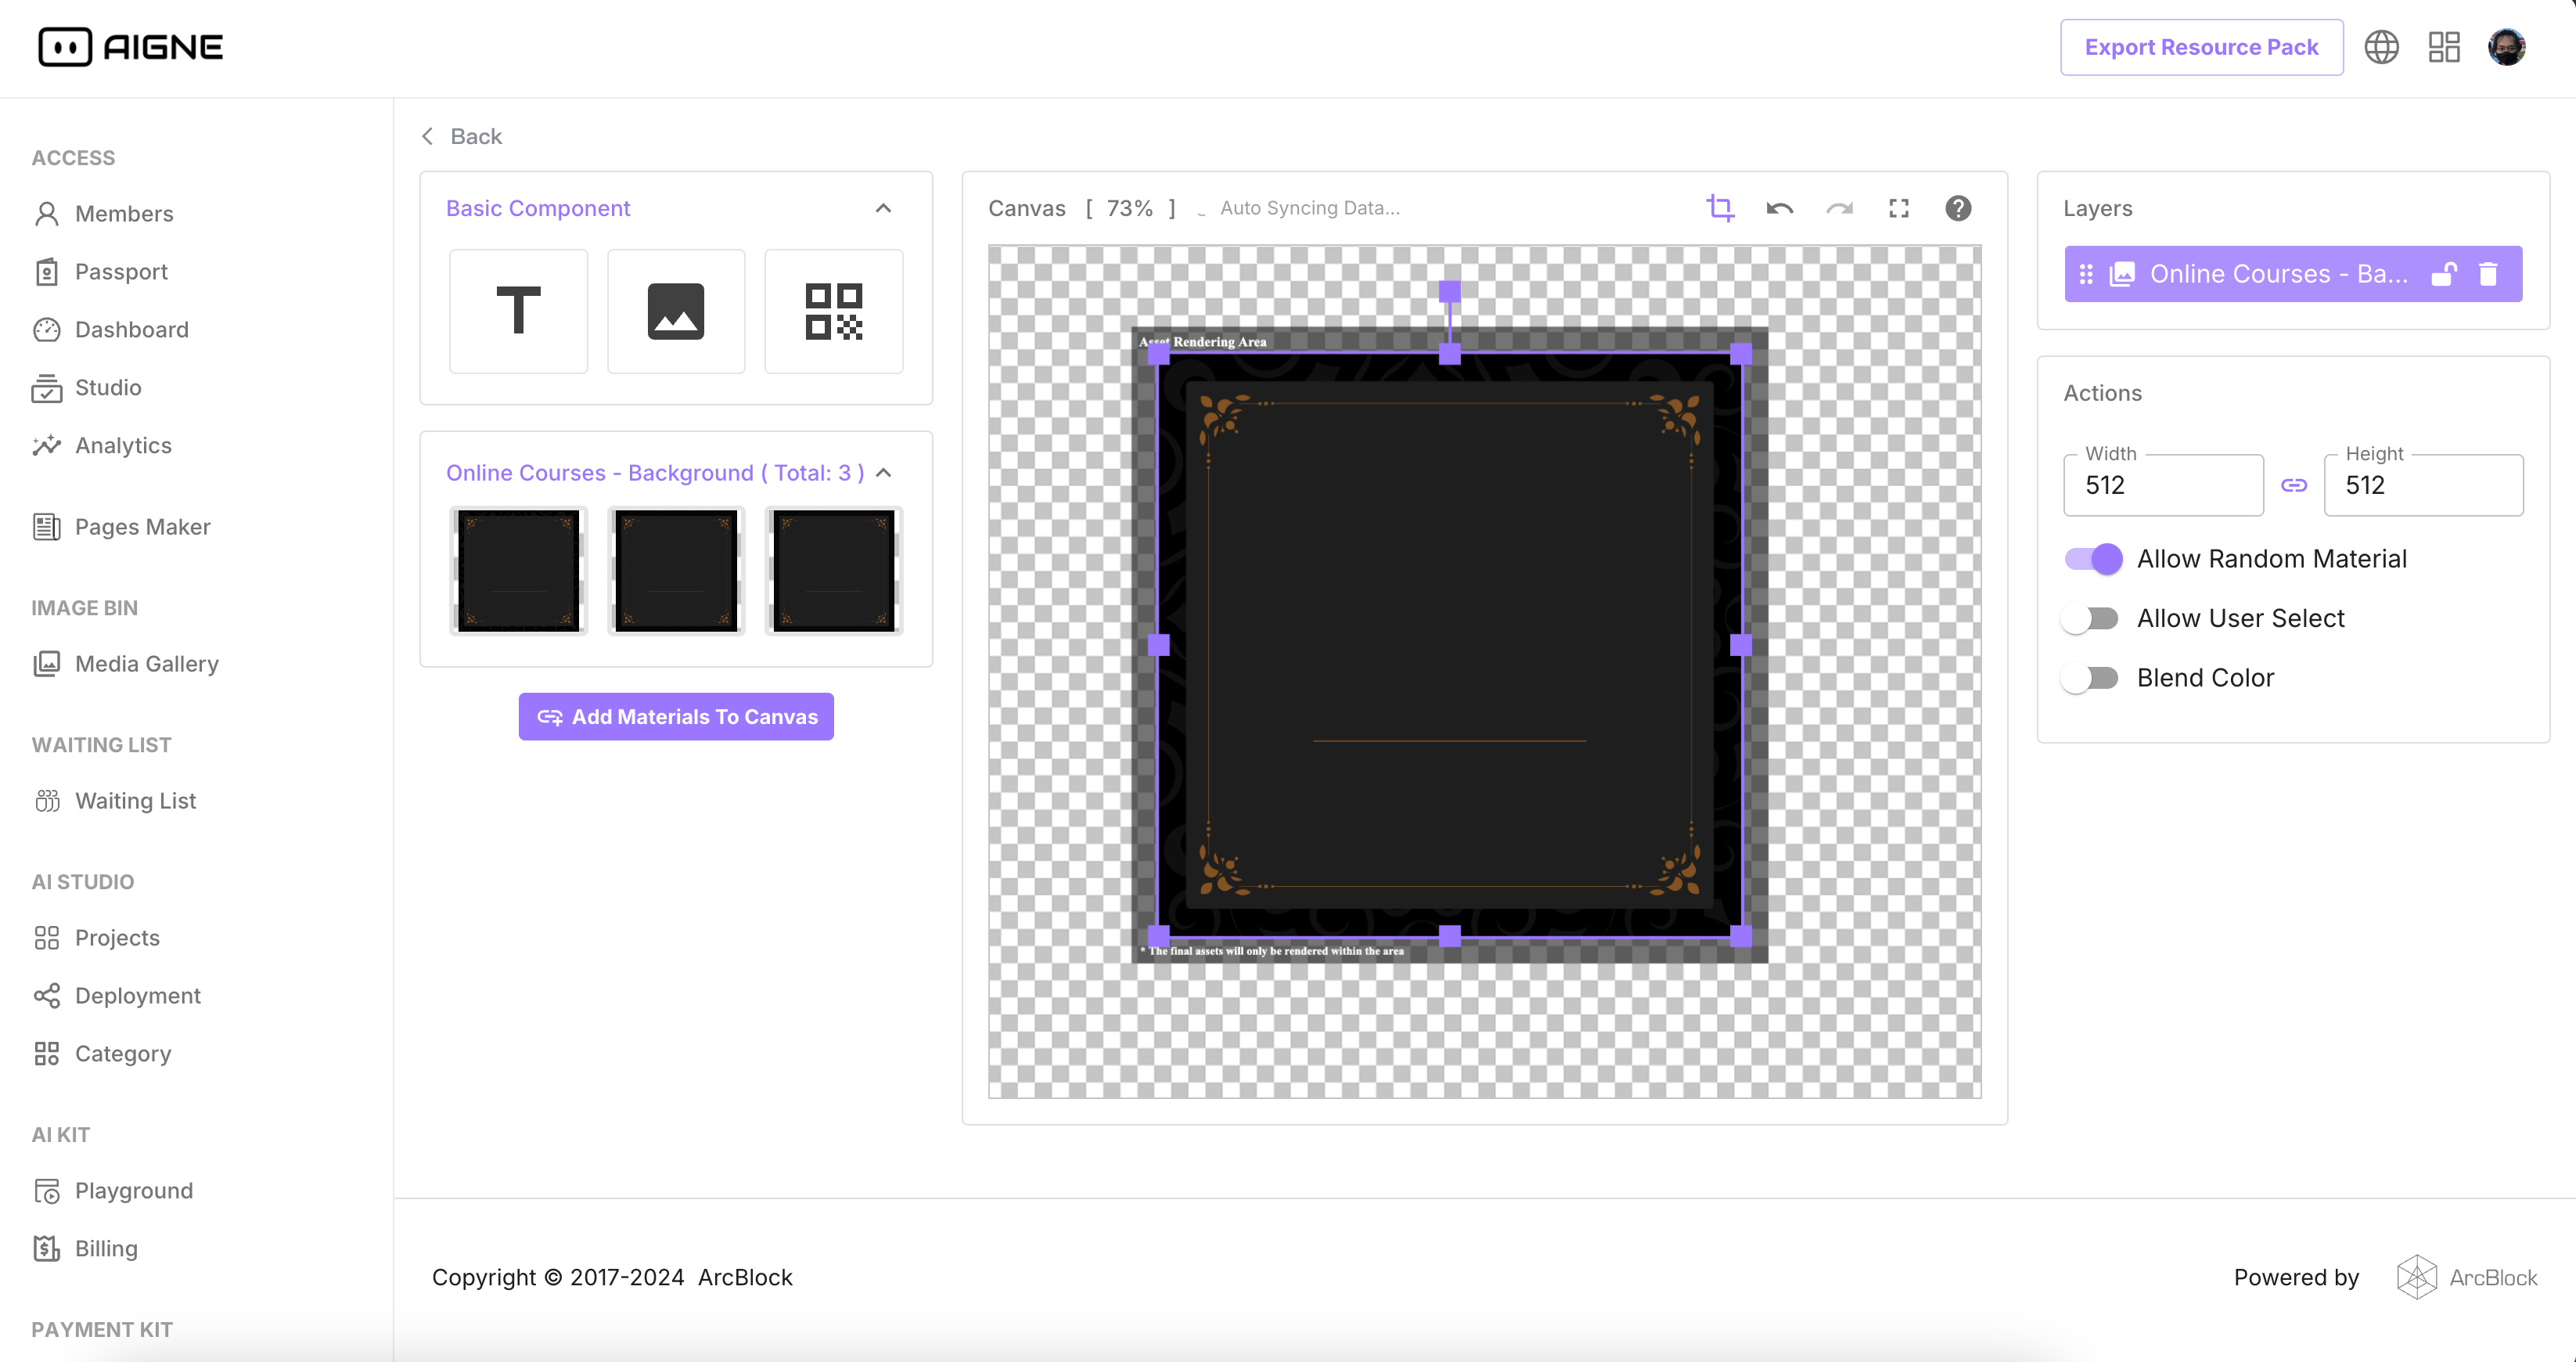
- Go to the Template Management by clicking on Image Blender in AIGNE
- Go To NFT Blender and Create a Template
- Go to Template Details, we did the following operations to prepare the canvas
- With the "Add Materials To Canvas" on the left, we added a series of backgrounds
- With the "Render Area Buttons" on the top, we added a 512 x 512 Render Area Border
- With the "Template Information" on the right, we changed its title and description
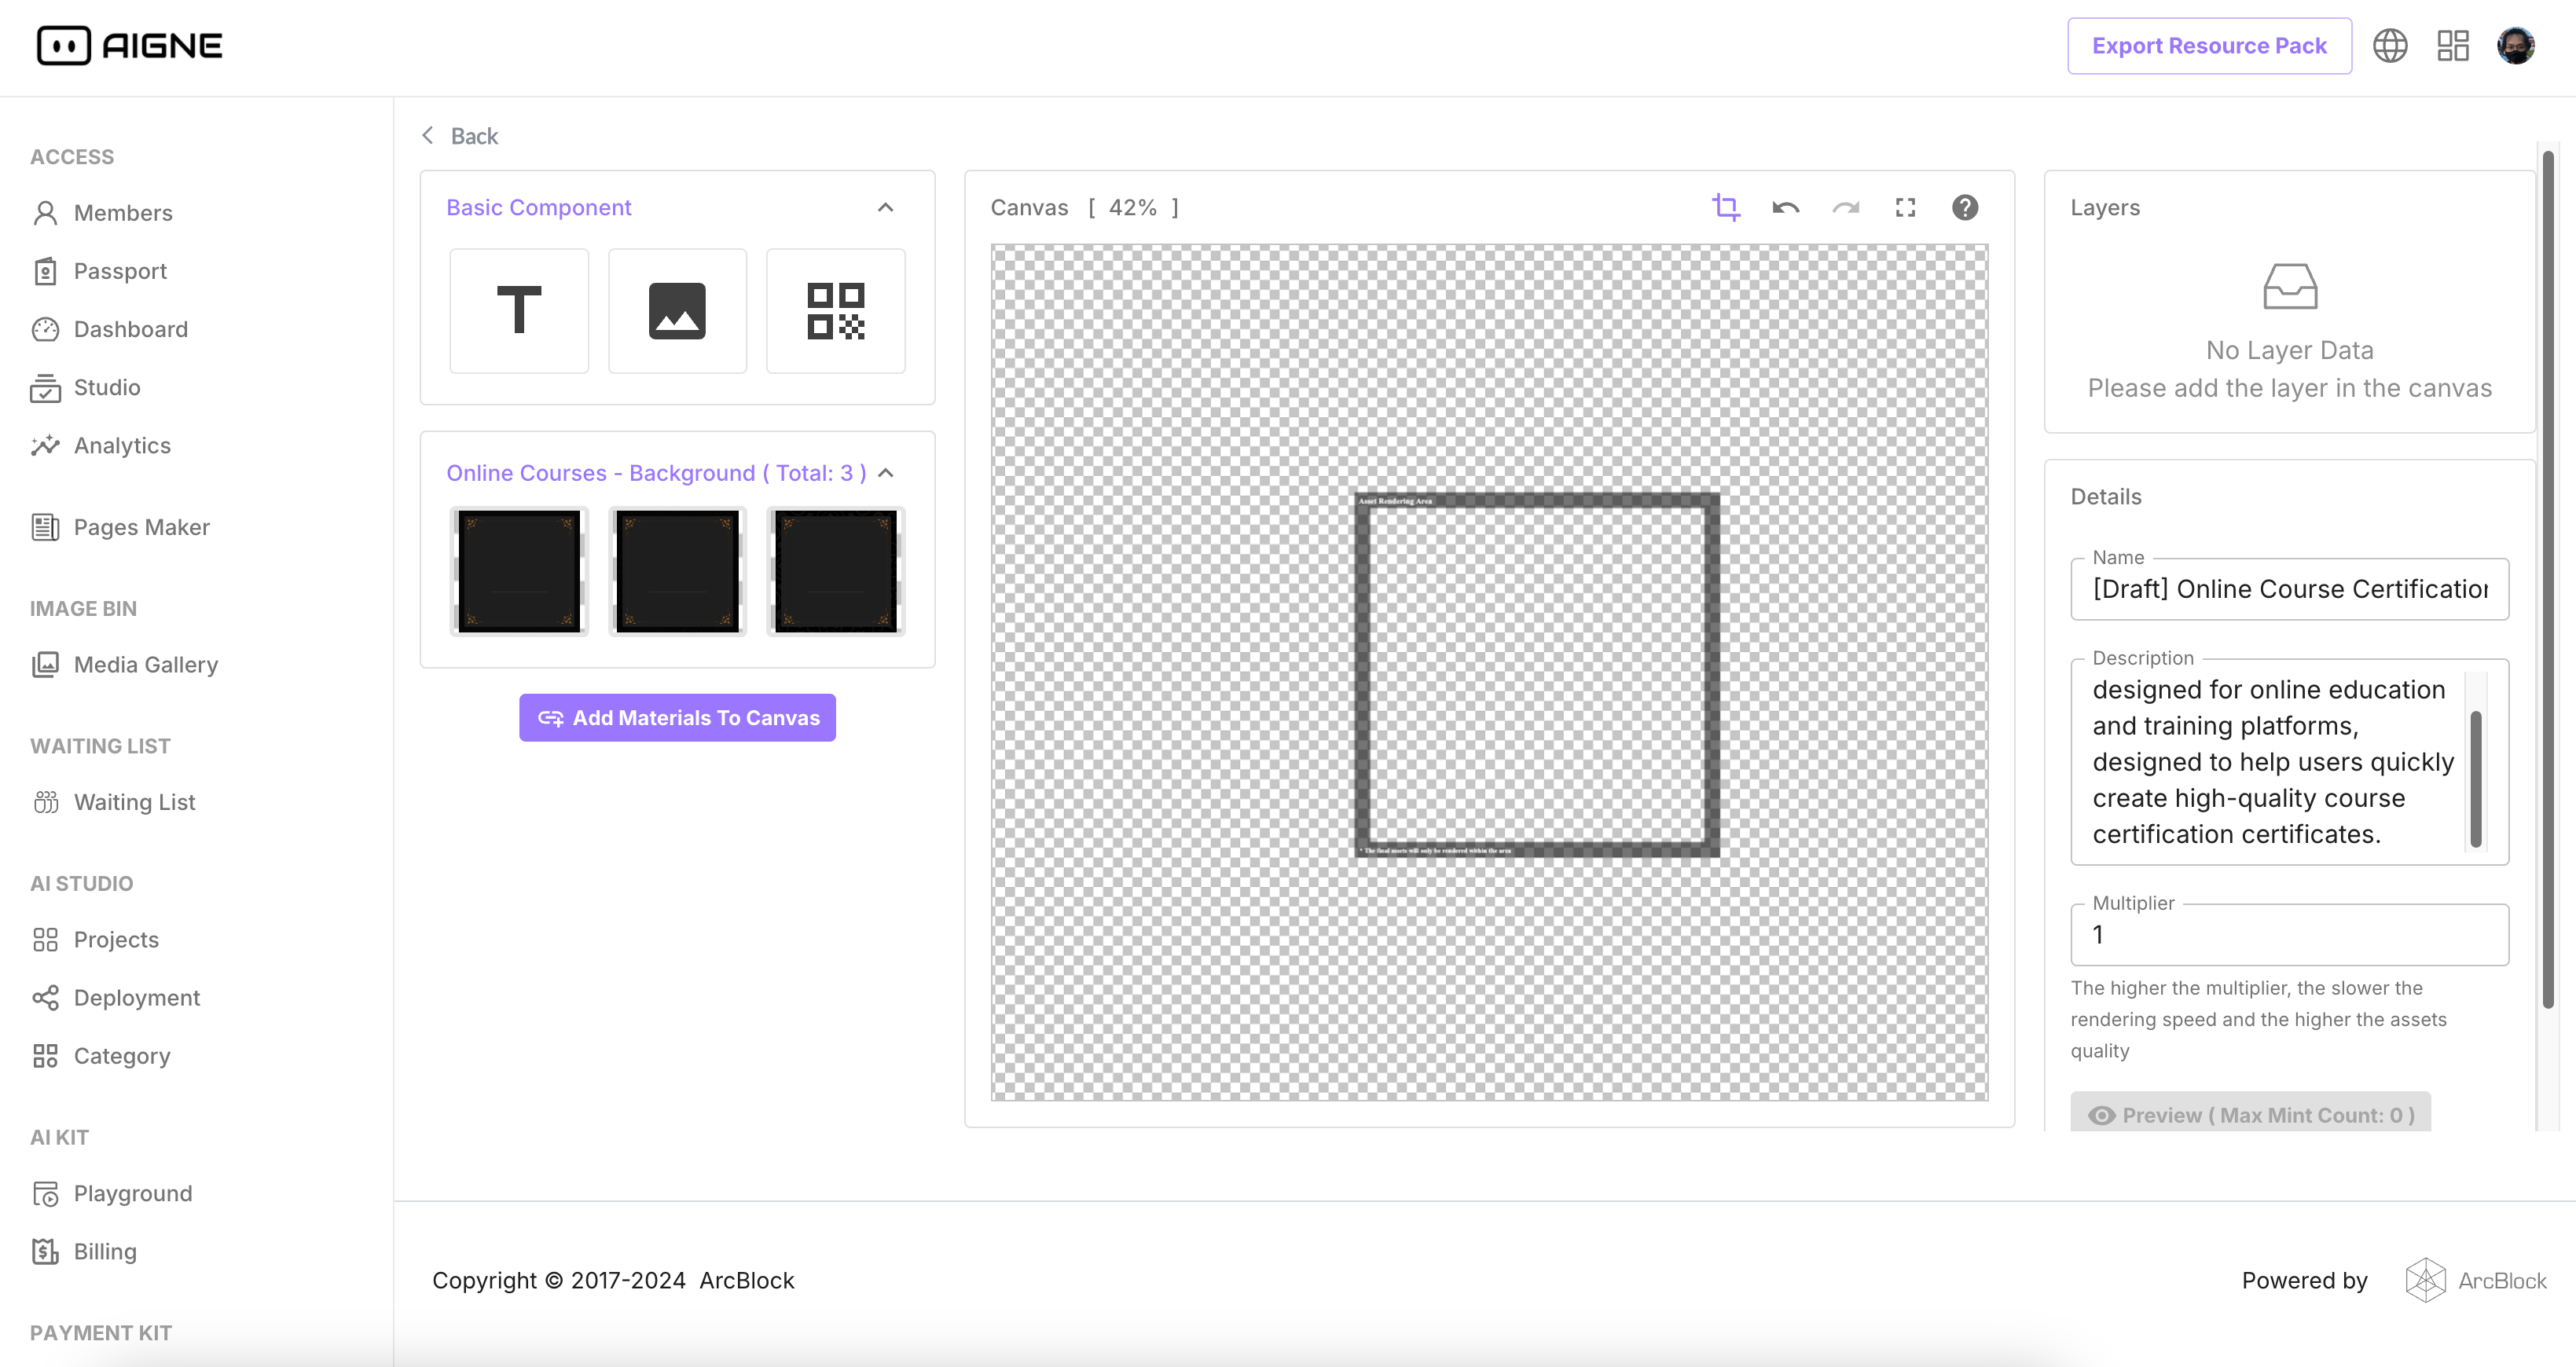
- Add the background to the Canvas and turn on the "Allow Random Material" switch on the right to allow these background materials to be combined freely.
- We added some text, some of which required dynamic data, and we used the {{mustache}} dynamic input syntax to populate it, such as username
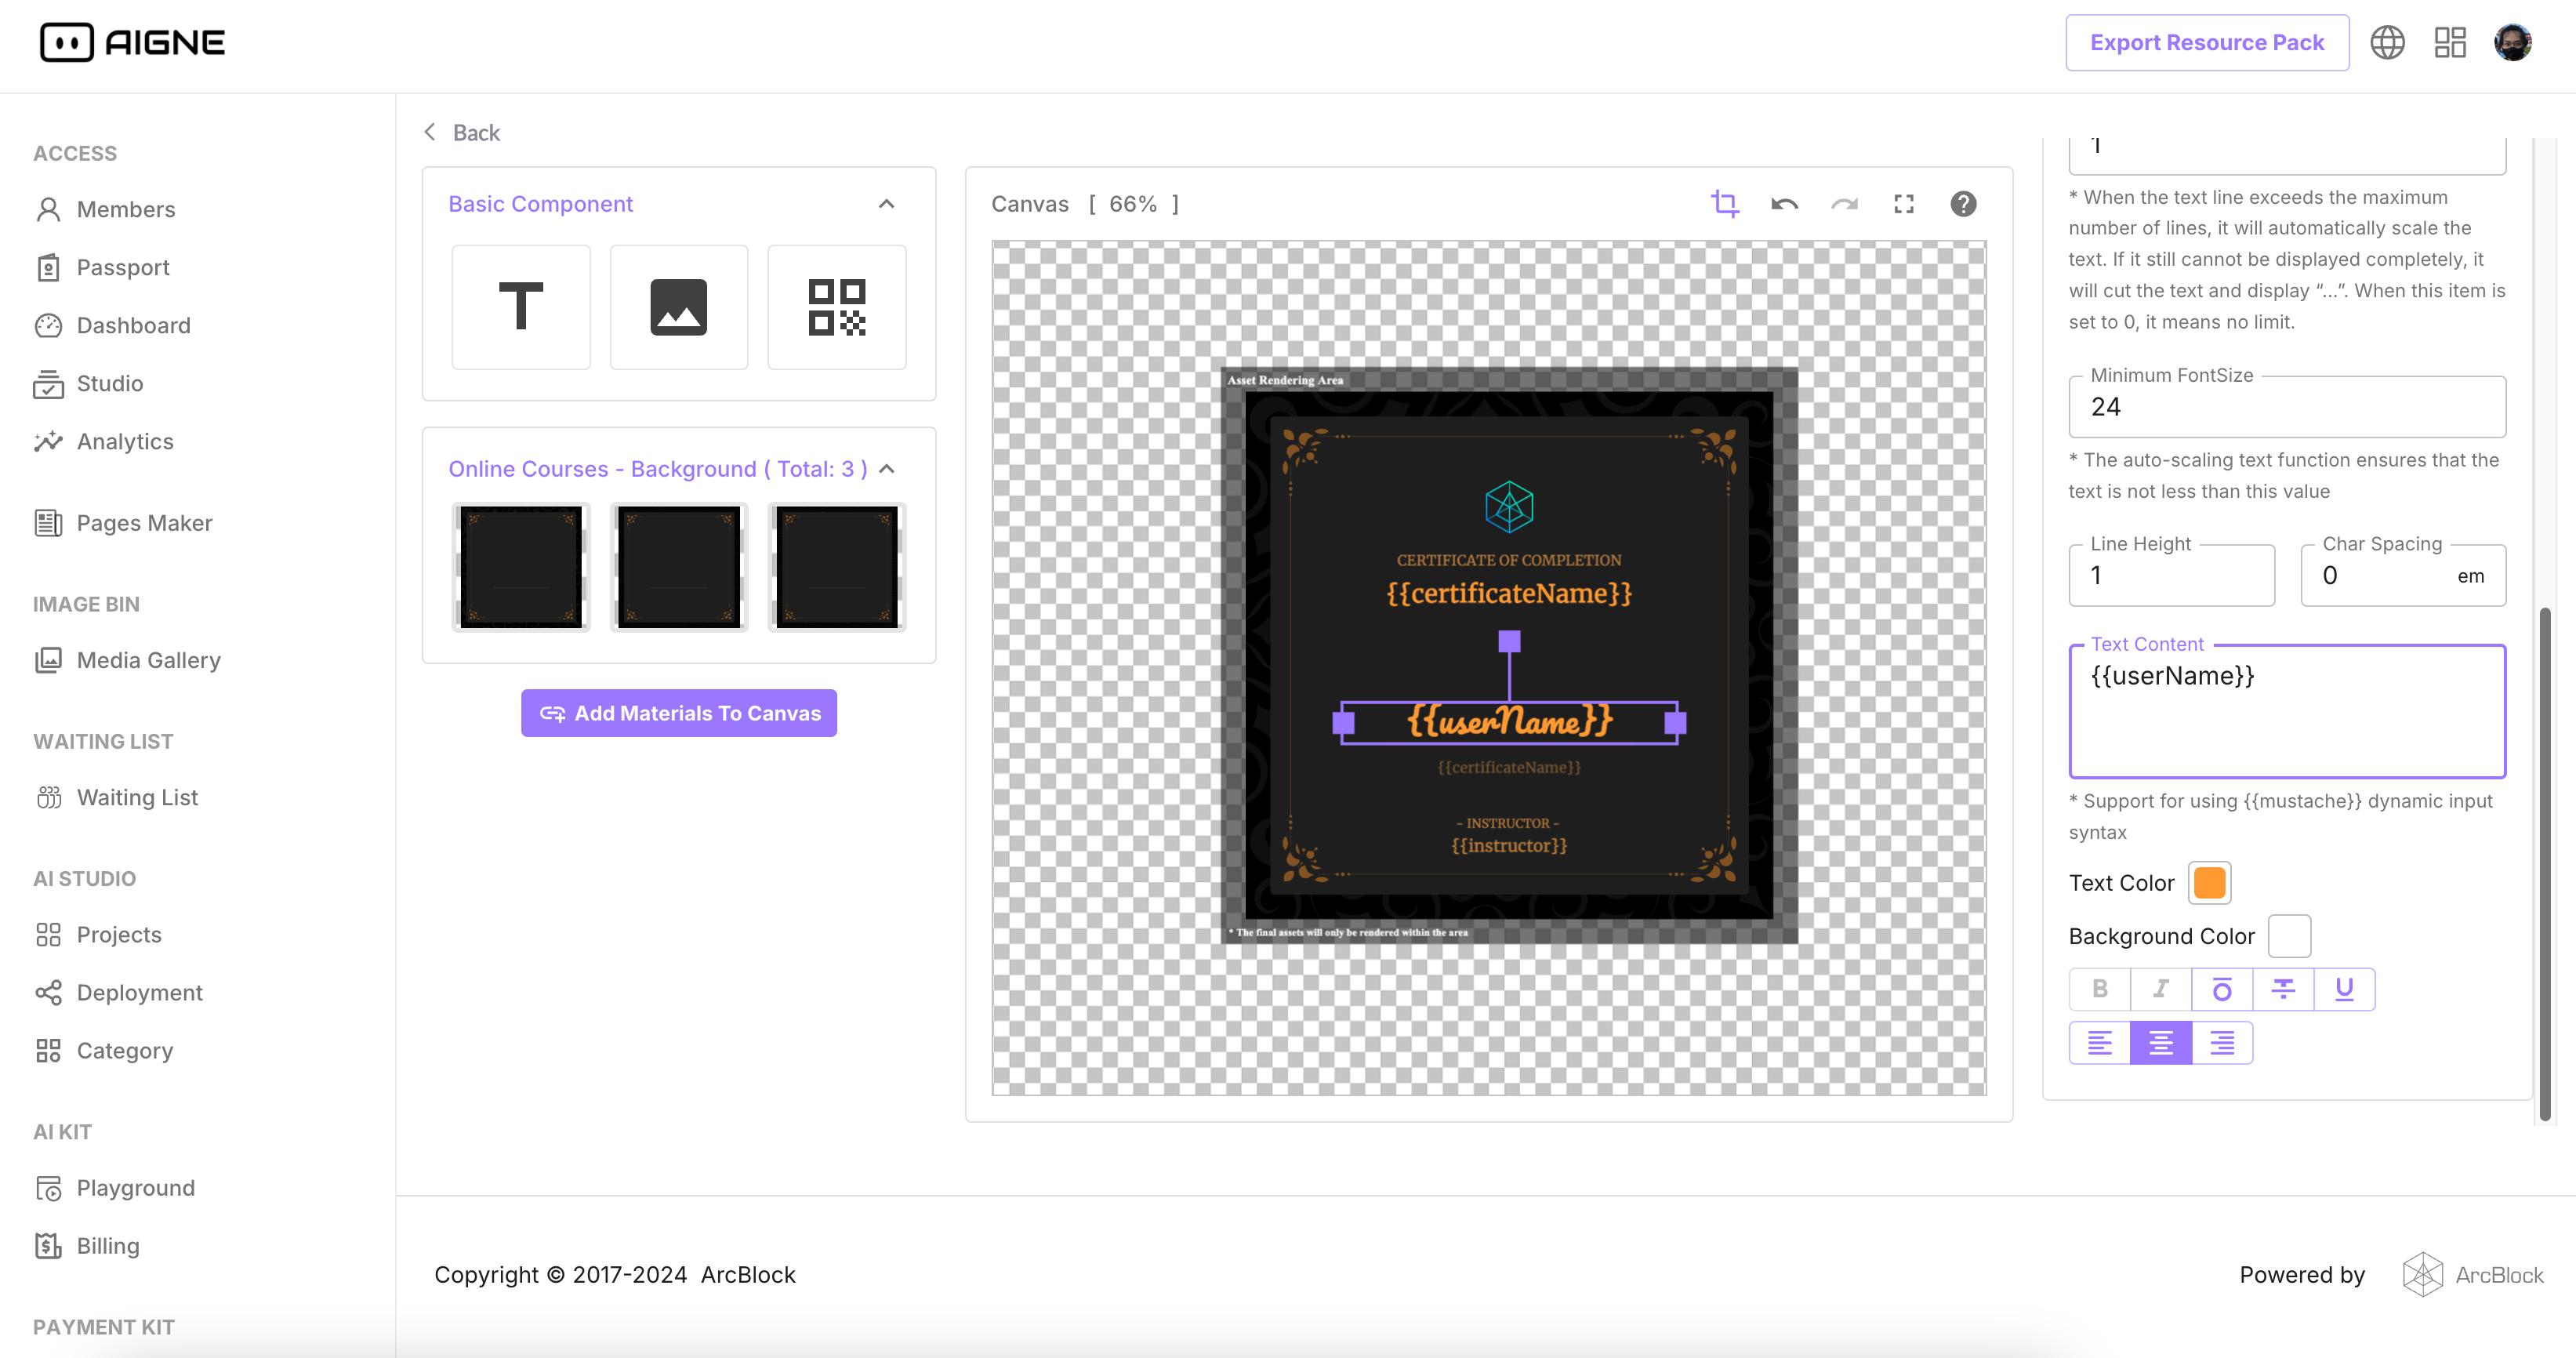
- Finally, after debugging the template preview with the dynamic input, we get our template